10 best After Effects CC tips & features for your video production
Among the following After Effects CC tips or functions there may be one or more tips that you did not know yet….

In this post we'll cover:
- 1 Remove Banding
- 2 Quickly crop a composition
- 3 Link Focus to Distance
- 4 Export from Alpha Channel
- 5 Audio Scrubbing
- 6 Move anchor point without changing the position of the layer
- 7 Moving your mask
- 8 Turn mono audio into stereo audio
- 9 Each mask a different color
- 10 Trimming your composition (Trim comp to work area)
Remove Banding
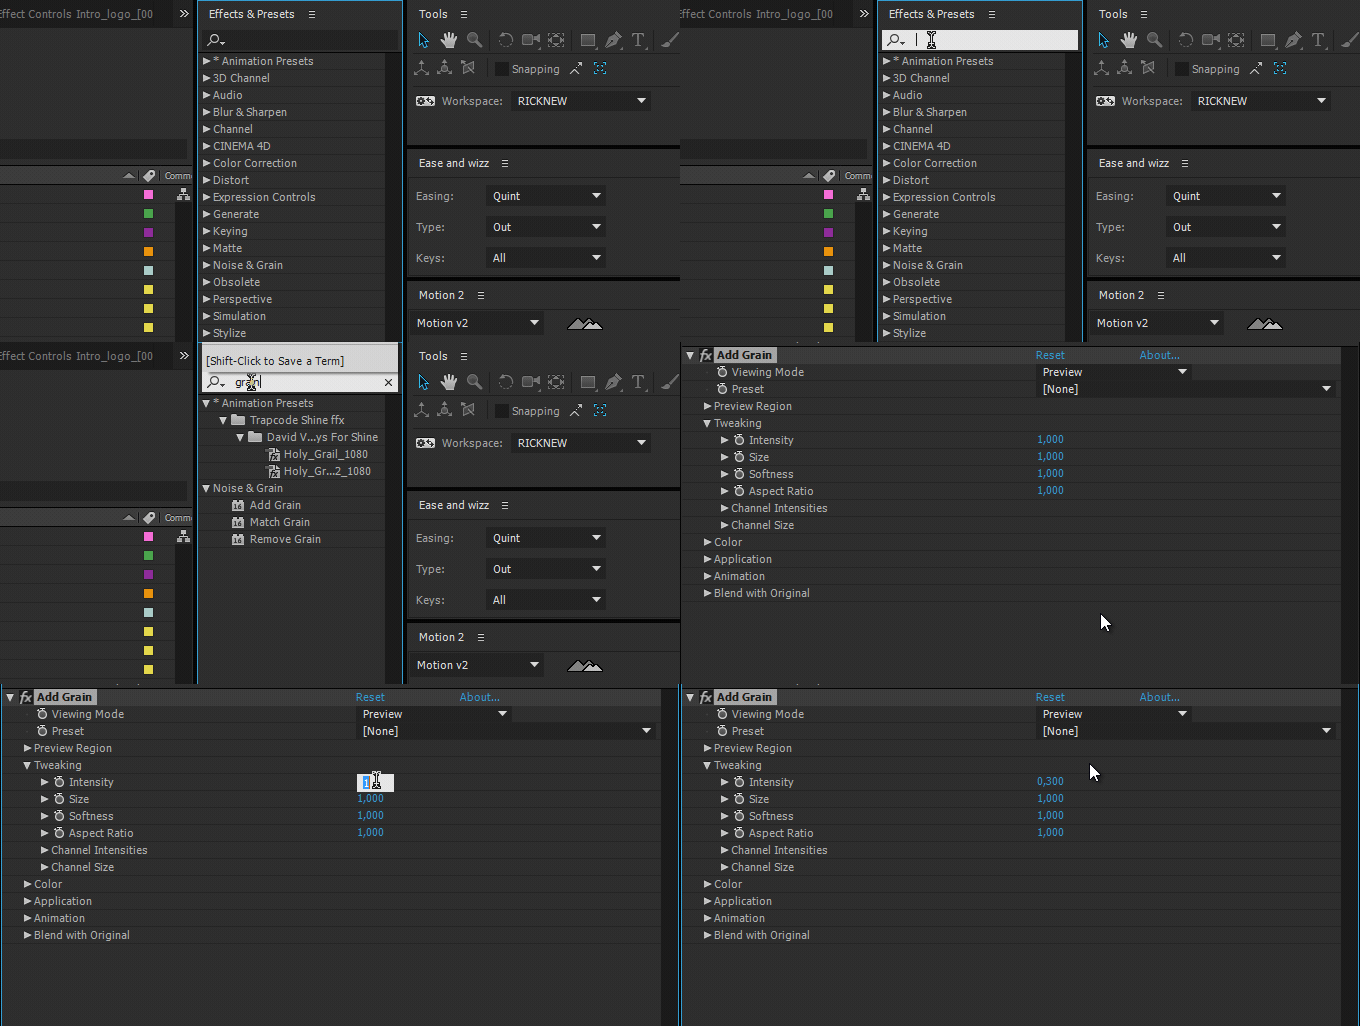
Add a light noise (grain) to the image, an intensity of around 0.3 is sufficient. Also set your project to a bit-per-channel value of 16.
When uploading to YouTube, for example, the value is set back to 8 bpc. You can also add noise instead of grain.
Quickly crop a composition
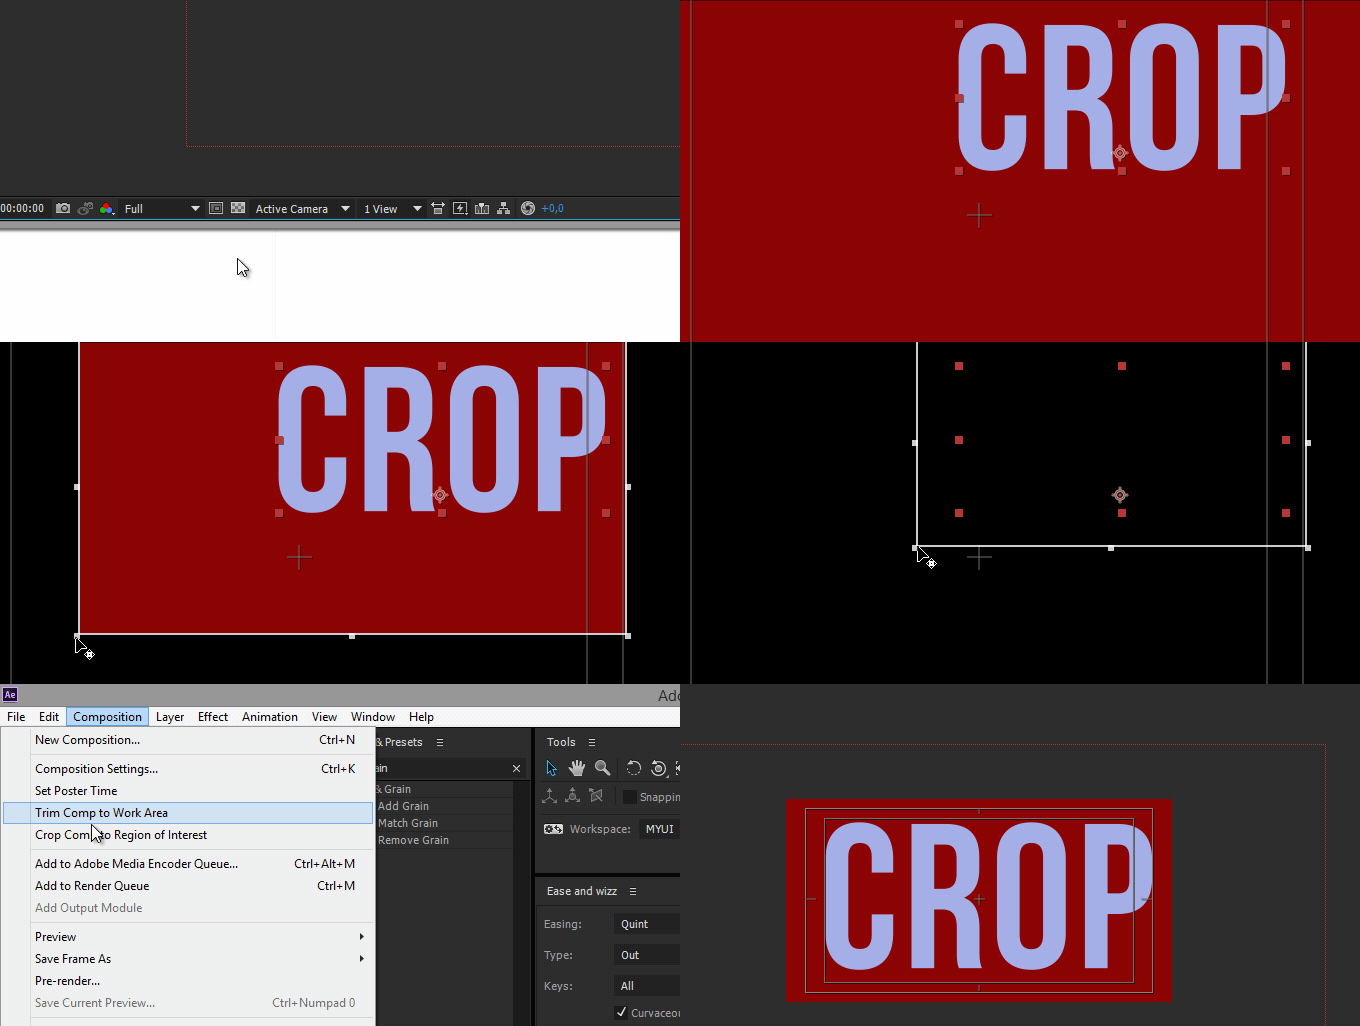
To quickly crop a composition, choose the part you want to crop with the Region of Interest tool, then select Composition – Crop Comp to Region of Interest, you will then only see the part you selected.
Link Focus to Distance
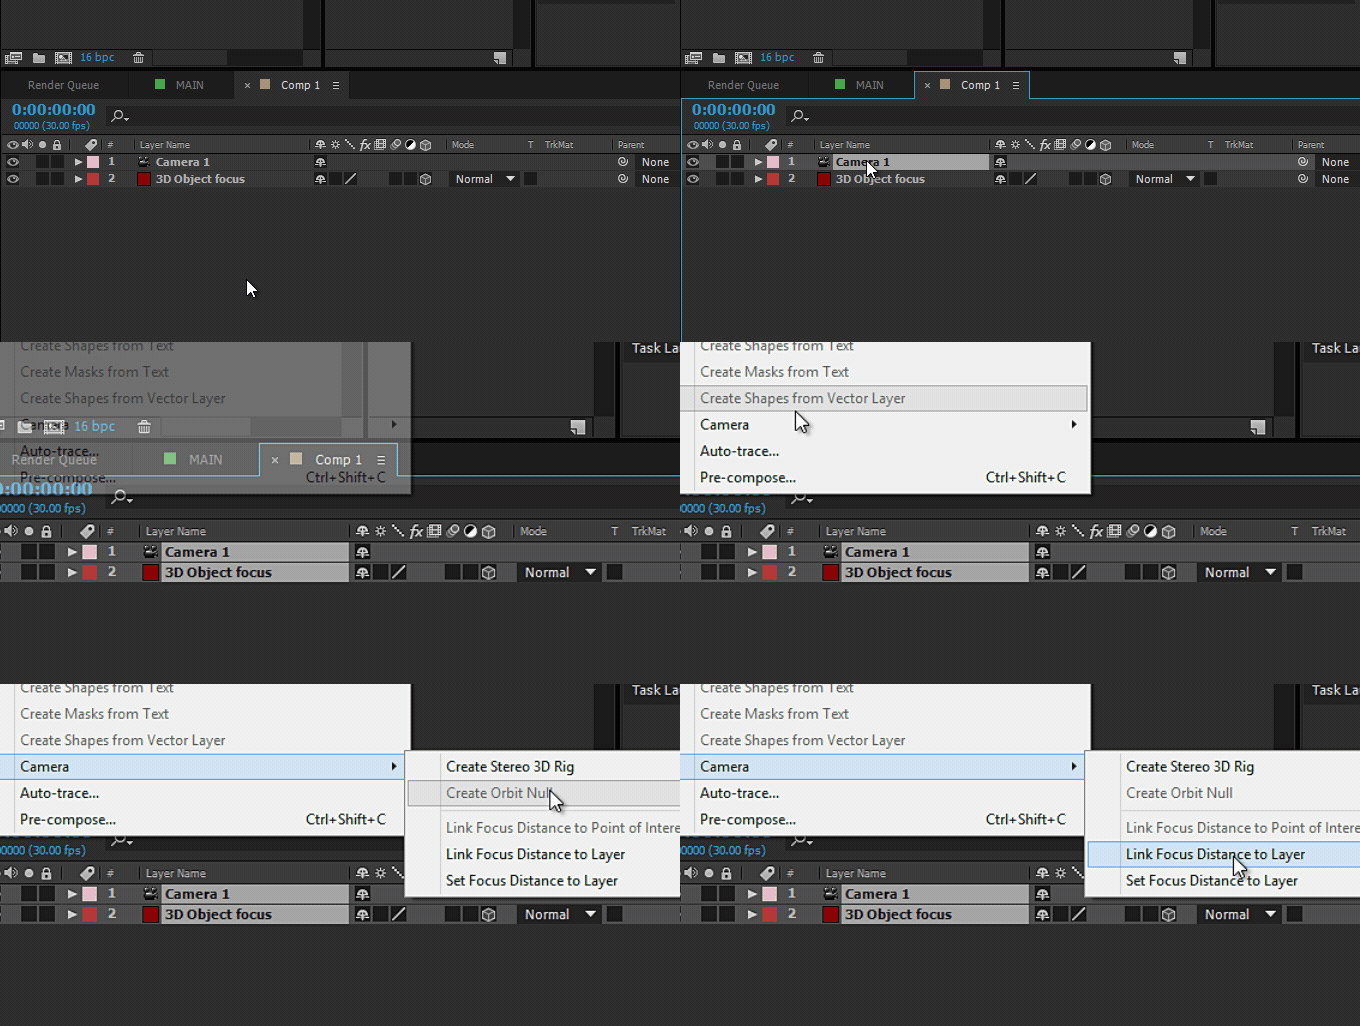
If you work a lot with 3D cameras in After Effects, you know that it can be difficult to set the focus correctly. First you create a camera with Layer > New > Camera.
Choose the 3D layer you want to track and select Layer > Camera > Link Focus Distance to Layer. That way, that layer always remains in focus, regardless of the distance from the camera.
Export from Alpha Channel
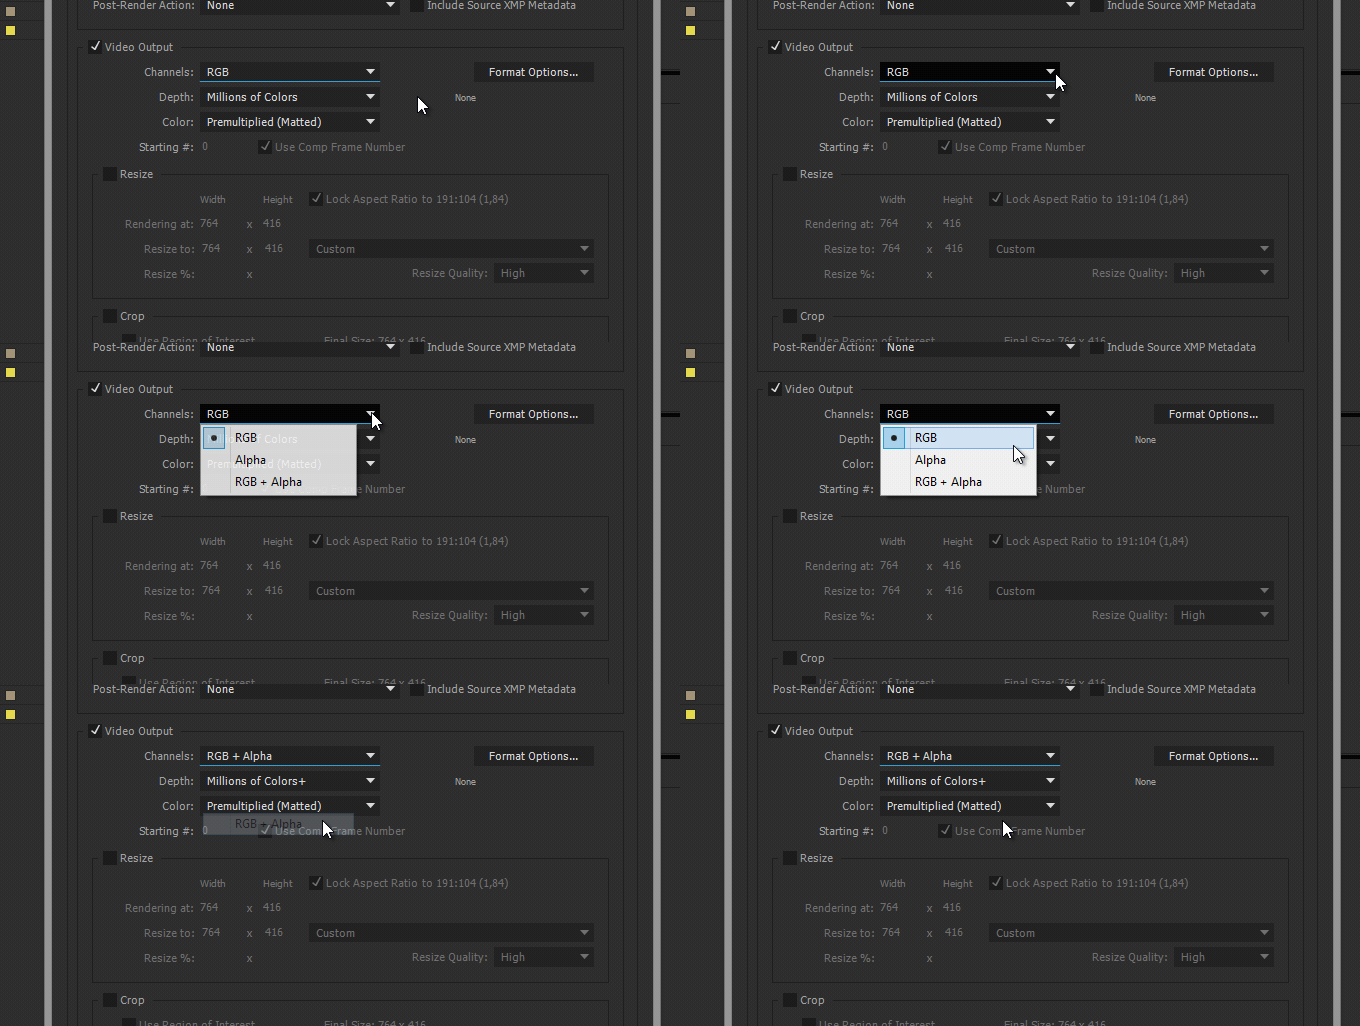
To export a composition with an Alpha channel (with transparency information) you have to work on a transparent layer, you can see that by enabling the “checkerboard” pattern.
Then choose Composition – Add to Render Queue or use Win: (Control + Shift + /) Mac OS: (Command + Shift /). Then select the Output Module Lossless, choose RGB + Alpha for the channels and render the composition.
Audio Scrubbing
If you just want to hear the sound while scrubbing on the timeline, hold down Command while scrubbing with the mouse. You will then hear the sound, but the image will be temporarily switched off.
Mac OS Shortcut: Hold Command and Scrub
Windows Shortcut: Hold Ctrl and Scrub
Getting started with your own stop motion storyboards
Subscribe to our newsletter and get your free download with three storyboards. Get started with bringing your stories alive!
We'll only use your email address for our newsletter and respect your privacy
Move anchor point without changing the position of the layer
The Achor point determines from which position the layer scales and rotates. When you move the anchor point with Transform, the entire layer goes with it.
To move the anchor point without moving the layer, use the Pan Behind tool (shortcut Y). Click on the anchor point and move it wherever you want, then press V to choose the selection tool again.
To make it easy on yourself, do this before animating.

Moving your mask
To move a mask, hold down the spacebar while creating a mask.

Turn mono audio into stereo audio
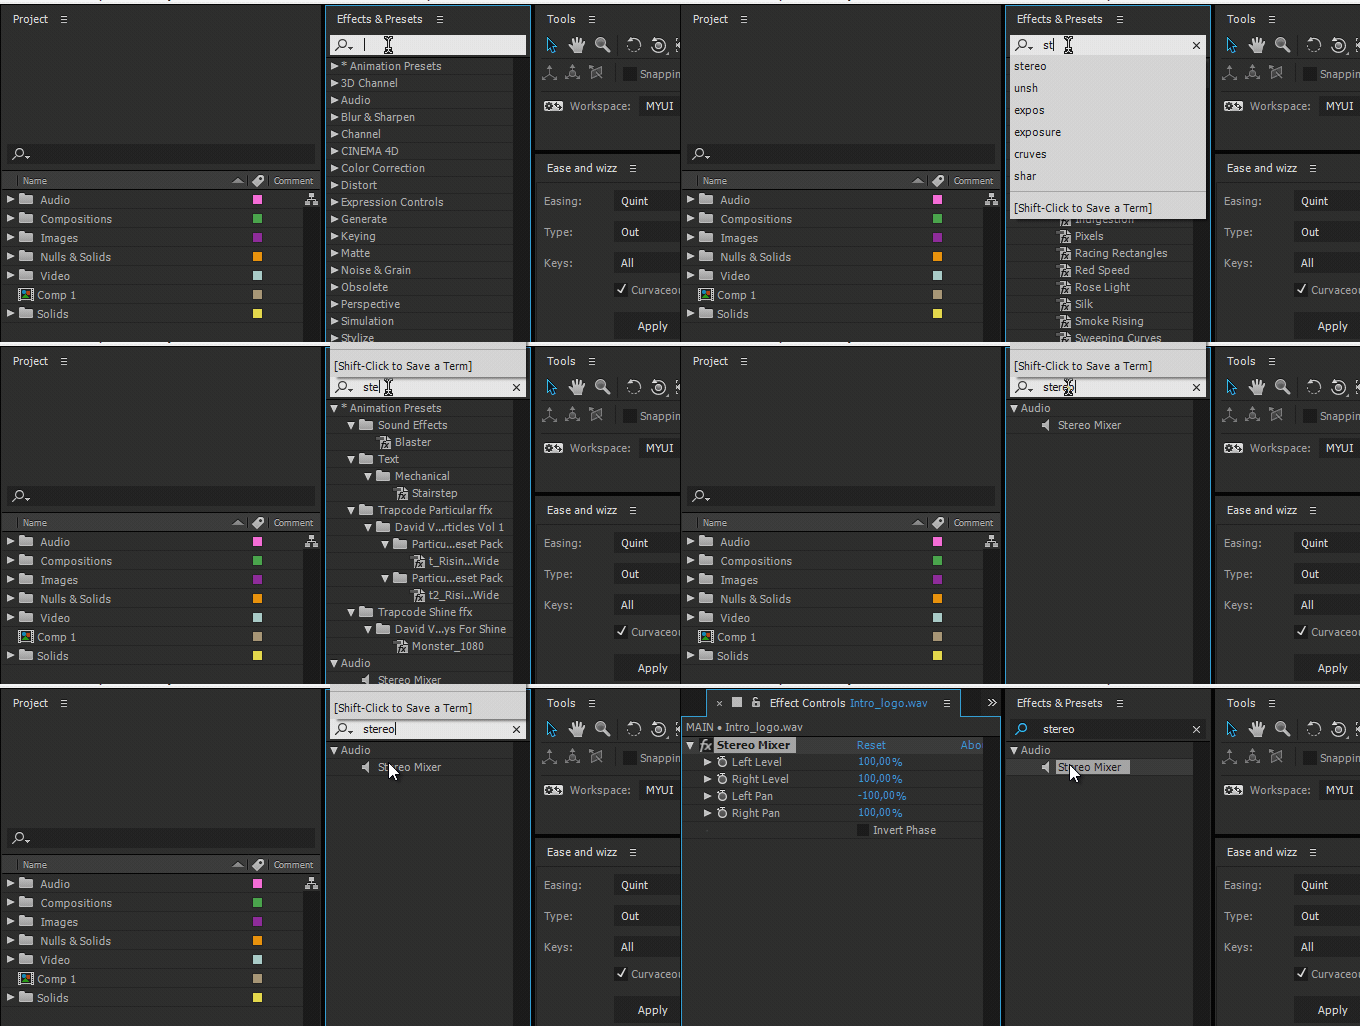
Sometimes you have audio that can only be heard in one channel. Add the “Stereo Mixer” effect to the audio track.
Then copy that layer and use the Left Pan and Right Pan sliders (depending on the original channel) to move the sound to the other channel.
Each mask a different color
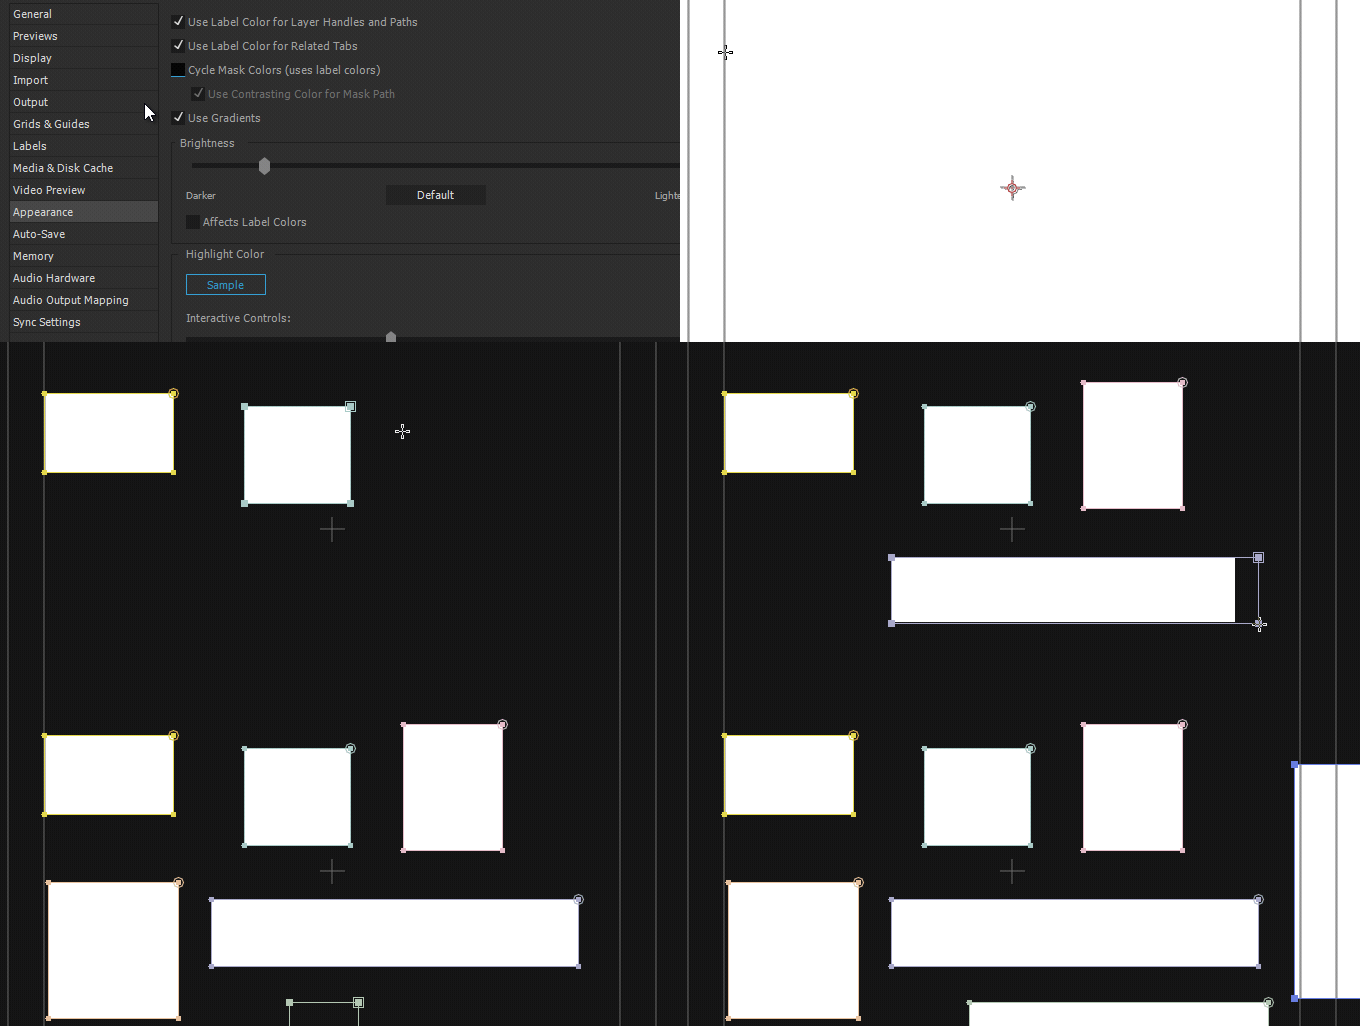
To organize masks, it is possible to give each new mask you make a different color.
Trimming your composition (Trim comp to work area)
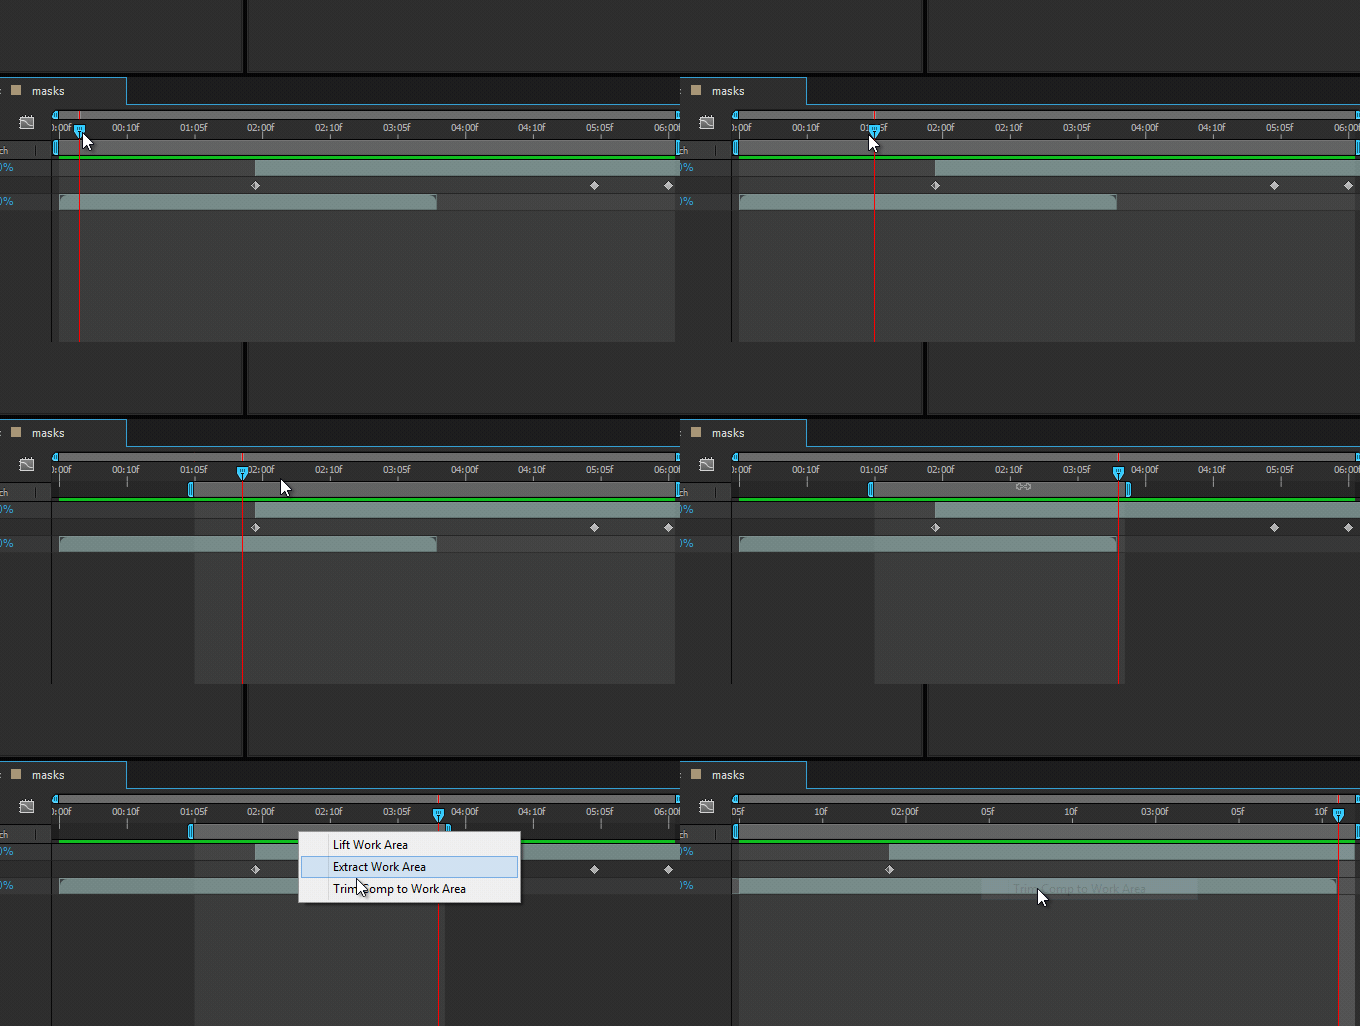
You can easily trim the composition to your work area. Use the B and N keys to give in-and-out points to your work area, right click and then choose: “Trim Comp to Work Area”.
Hi, I'm Kim, a mom and a stop-motion enthusiast with a background in media creation and web development. I've got a huge passion for drawing and animation, and now I'm diving headfirst into the stop-motion world. With my blog, I'm sharing my learnings with you guys.
