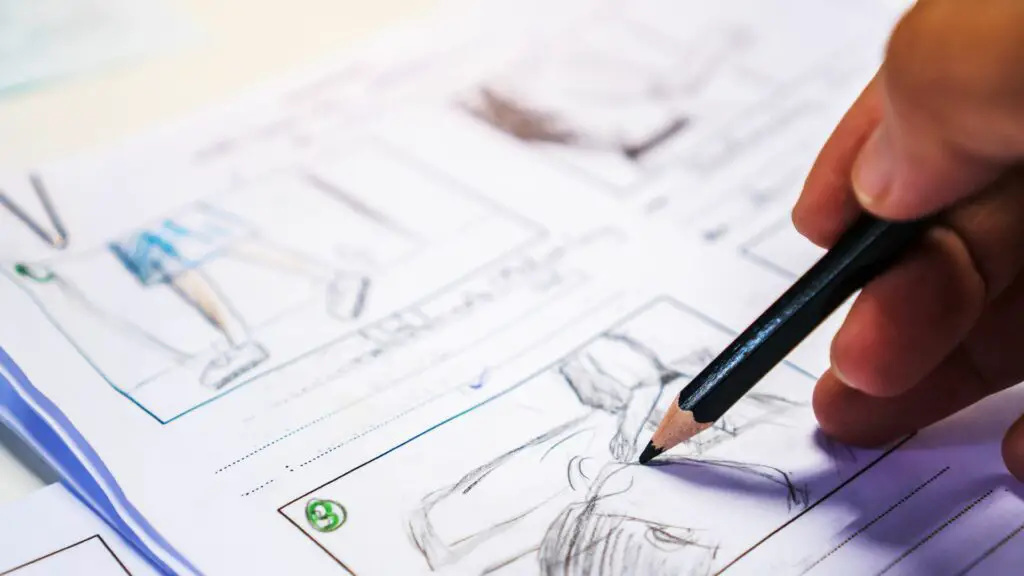
How to use storyboarding for stop motion animation

Let me start off by saying: You don’t always need a storyboard. And the format of the storyboard is certainly not always set in stone. But when you are doing stop motion animation, or any kind of media production, it’s always a good idea to go in with a plan. And that plan is creating a storyboard.
A storyboard is a visual representation of the story before animating. Animators use storyboards to plan the entire animation. A storyboard contains visuals and notes representing frames or shots of a film.
Want to take your storytelling skills to the next level? Or are you looking for ways to speed up the production process of your stop motion animations?
In this guide I’ll explain what it is, how to create one, how to use it in production.
In this post we'll cover:
What is a storyboard?
Storyboarding in animation is like a visual road map for your animation project. It’s a series of sketches that map out the key events of the narrative, from start to finish. Think of it as a visual bridge between your script or concept and the finished animation.
It’s like a blueprint for the entire project. What a storyboard basically is, is a sheet of paper with panels and thumbnails. They represent a frame or a shot of your film, and there is usually a bit of space to write down some notes like, shot types or camera angles.
The goal of a storyboard is to convey a message or a story in an easy to read way for either your clients or other members of a production team.
It’s also a great way to organize your ideas and plan out the animation process. So if you’re an animator or just getting started, learning how to create a storyboard is an essential part of the creative process. It’ll help you stay organized and bring your ideas to life.
Why is Storyboarding Important?
When working in a team, storyboarding is a great way to communicate your vision to others. It helps to ensure that everyone involved in the production process is on the same page and that your animation looks exactly how you envisioned it.
If you’re doing a project by yourself, it is a great way to visualize the story and scope out the project, before any production work is done. It may save some time in the long run. It is also a great way to keep your notes during production in one place.
Getting started with your own stop motion storyboards
Subscribe to our newsletter and get your free download with three storyboards. Get started with bringing your stories alive!
We'll only use your email address for our newsletter and respect your privacy
You can create an animatic of the pictures or drawings and see how the story flow is and if any adjustments are needed.
It visualizes the story and is a helpful tool to guide the narrative for the viewers so that they fully understand what is happening and why. So no matter what type of project you’re starting on, it would be wise to spend time creating a storyboard.
What Is The Process Of Making A Storyboard In Stop Motion Animation?
Creating a storyboard in stop motion animation is a fun and creative process. It starts with coming up with a concept and deciding what kind of story you want to tell, assuming you already hadn’t one.
Once you have your idea, you’ll need to figure out the sequence of events and what visuals you’ll need to bring it to life. You’ll need to draw up a series of sketches that illustrate each scene, and then figure out the timing and pacing of the animation.
Finally, you’ll need to plan out the camera angles and movements you’ll use to capture the action. It’s a lot of work, but it’s worth it when you see your story come to life!
How Do You Storyboard A Stop-Motion Animation?
For your first attempt creating a storyboard, it will be enough to draw a sketch and write down the lines of voice over below each sketch. You’ll also want to think through other important details. The perfect storyboard should have the following items.
- Aspect Ratio is the relationship between the width and the height of the images. For most online videos you can use 16:9
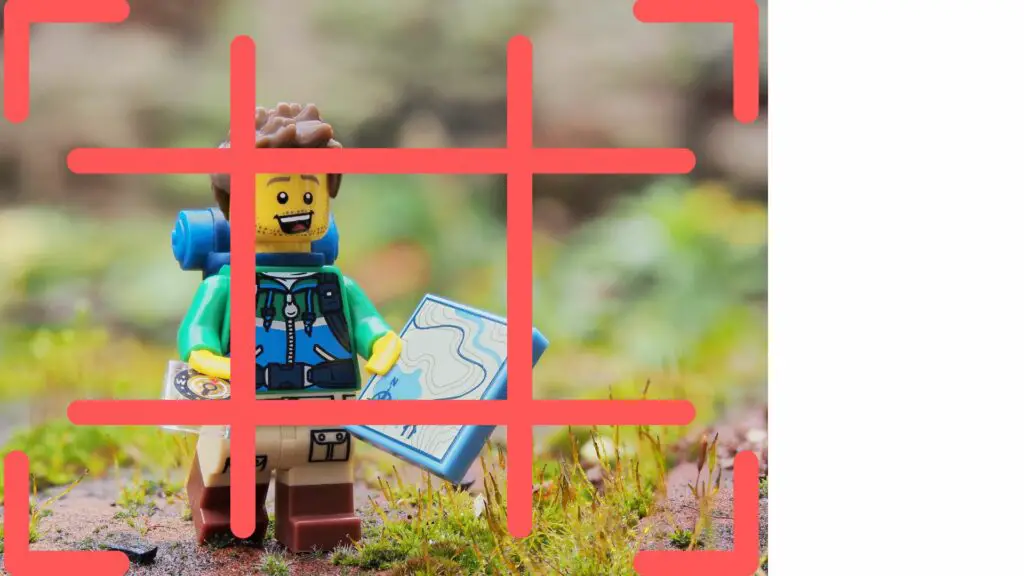
- The thumbnail is a rectangular box that depicts what is going on at a single point in your story.
- Camera angles: describe the type of shot used for a specific sequence or scene
- Shot types: describe the type of shot used for a specific sequence or scene
- Camera moves and angles – for example, you may note when a camera will approach or move away from objects in the frame.
- Transitions – are the ways one frame will be changed to the next.
Difference between live action and animation
So before we start we have to talk about terminology. And we’ll start off by stating the difference between live action storyboards and animation storyboards.
There are differences between live storyboarding and animation storyboarding, one of which is the number of drawings required for a scene. For live-action, only the starting and ending points of an action are drawn, and shots of other necessary scenes are added. On the other hand, in animation storyboards, the characters are created through animation, and keyframes need to be drawn, especially for hand-drawn animation. The in-between frames are then added as the animation progresses to make the action smoother.
Moreover, the way scenes and shots are numbered varies between live storyboarding and animation storyboarding. Where in live action you have a shot that refers to the camera angle and the scene refers to the location or the duration of time.In animation you have one sequence that’s made up of scenes. So in animation you use the word scene for the camera angle or a shot type, and a sequence refers to the duration of time.
Stop motion has the same approach in storyboarding as animation. With both there is a focus out on working out the key poses of your characters in your storyboards.
A thing in which the two differ is the fact that with stop motion you are dealing with actual camera movements in a 3d environment, as opposed to 2d animation where you can only show the characters from one side at a time
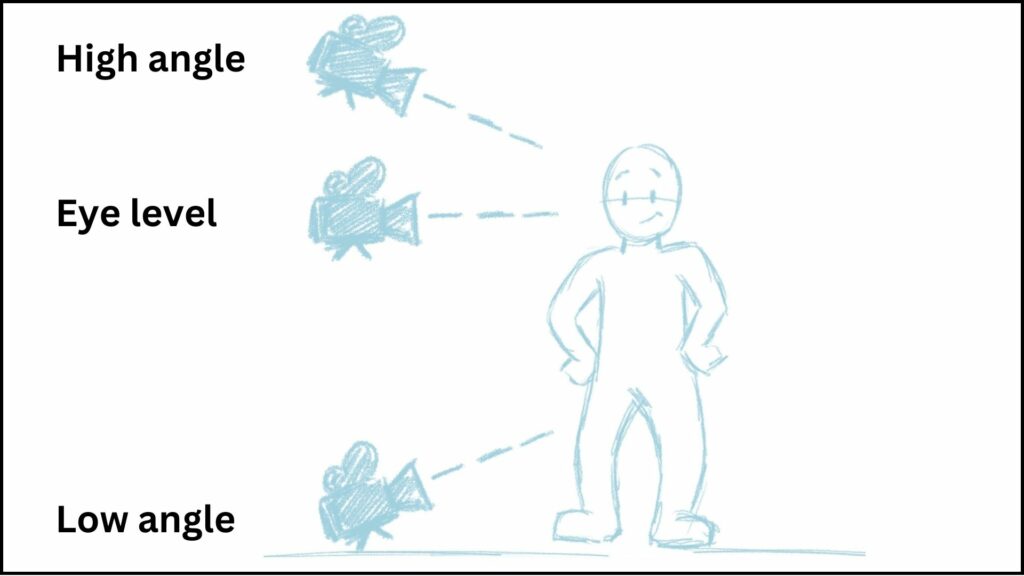
Camera angles and shots
Next up are the different camera angles and shot types that are available to you as a storyboarder.
Because every panel that you draw is essentially describing a camera angle or a shot type.
Camera angles are described as being either eye level, high angle, low angle.
And a camera shot refers to the size of the camera view.
There are six common shot types: the establishing shots, the wide shots, the long shots, the medium, the close up and the extreme close up.
Let’s take a look at all six of them.
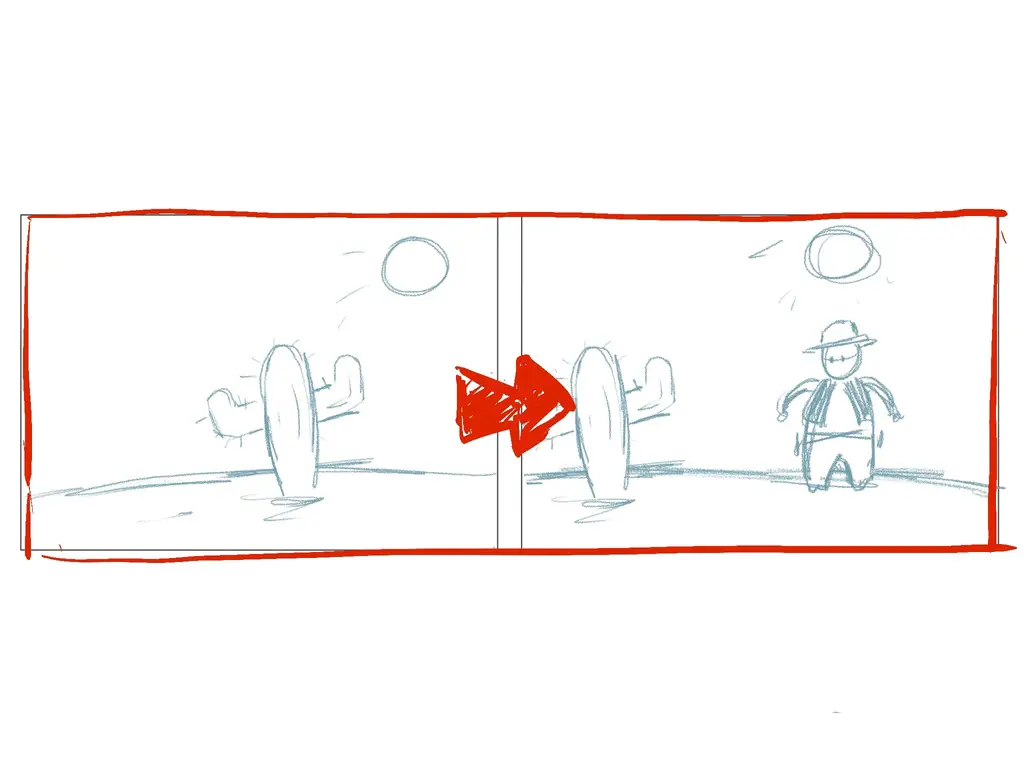
The establishing shot:
Like the name says this establishes the scene. It’s usually a very wide angle where the audience can see where the scene is taking place. You can use this type of shot at the beginning of your movie
The wide shot
The wide shot is not as large and wide as the establishing shot, but still considered very wide. This type of shot also gives the viewer an impression of the location where the scene takes place. You can use this shot after you had a series of close ups, to get back to the story.
The long shot:
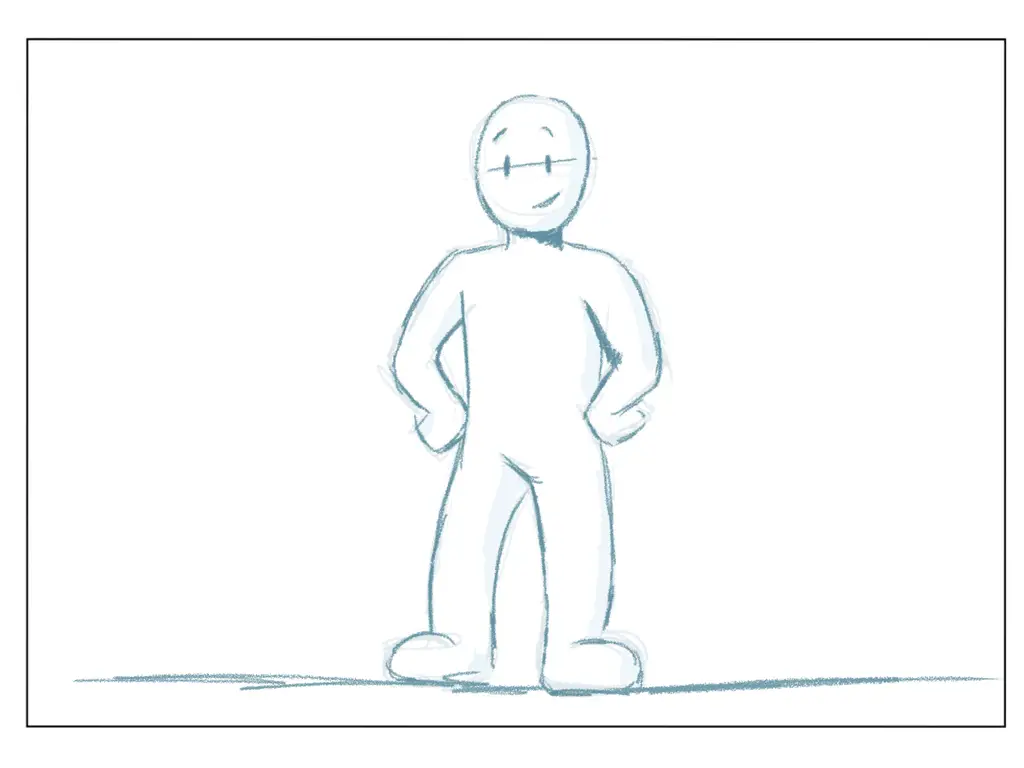
The long shot can be used to show the full character from head to toe. This is especially handy when you want to capture the movement of the character and the space or area that the character is in.
The medium shot:
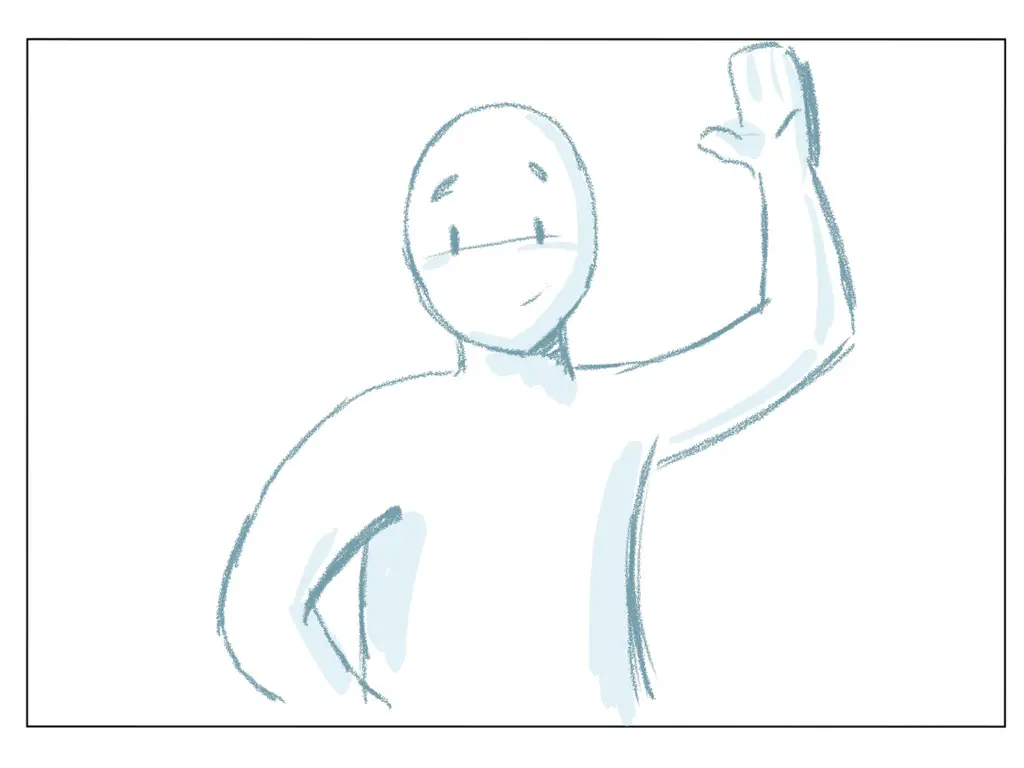
The medium shot is showing the character already a bit closer, from the waist up. You can use this shot if you want to convey both the emotion and movements of the hands or upper body.
The close up
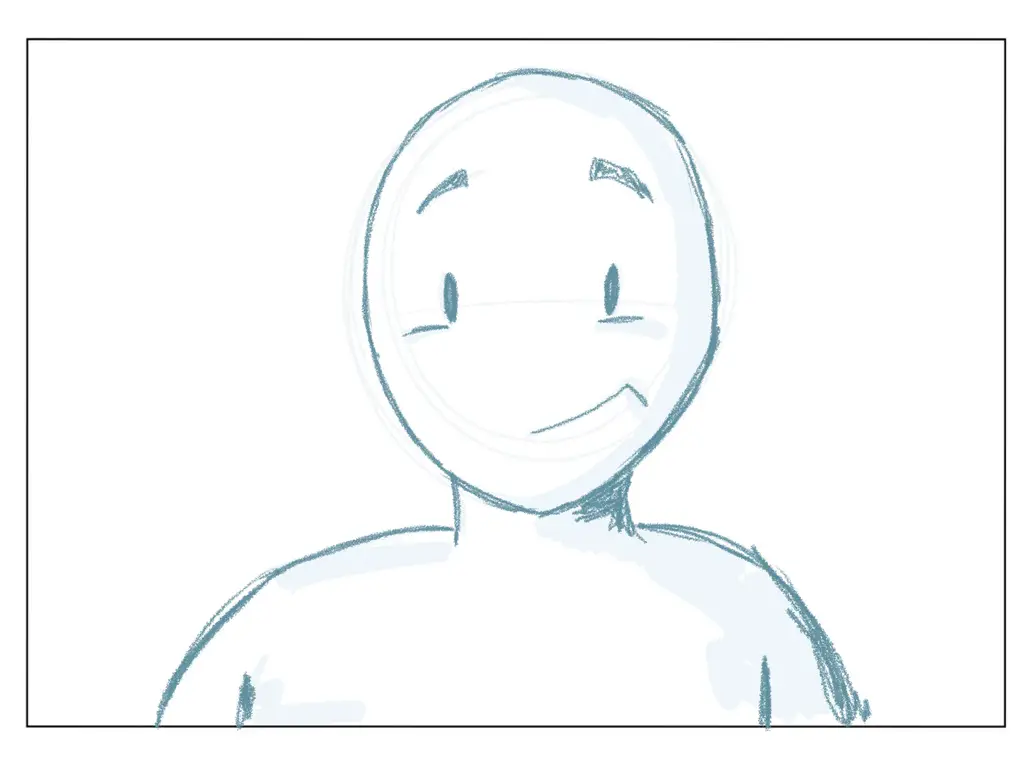
The close up is probably one of the most important shots in all of film because it’s the one shot that you can use that will really focus on the character and the emotions.
The extreme close up
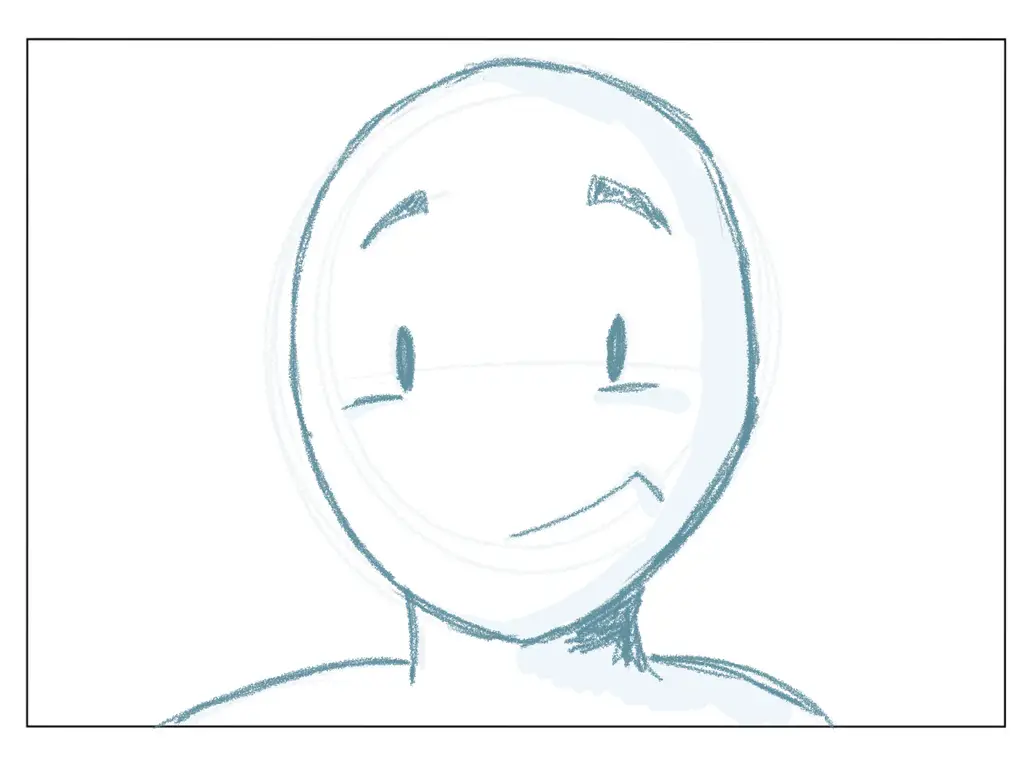
After the close up, you’ve got the extreme close up, which really focuses on one area of the face, for example the eyes. It’s usually used to really heighten the tension and the drama of any scene.
Creating the thumbnails
You don’t necessarily need any fancy equipment. All you need is a pencil and paper and you can start sketching out your ideas. You can also use software like Adobe Photoshop or Storyboarder to create a digital storyboard.
However it does help if you have some, at least basic, drawing skills.
Now I won’t go into full detail as this is not a drawing course. But I think it would benefit your storyboards if you can draw facial expressions, active poses and to be able to draw in perspective.
And remember, the format of the storyboard is not set in stone. So if you’re not comfortable drawing there are still other methods out there. You could create a digital storyboard or even just use the photos of the figures or objects.
But these are just the technical aspects. You can also look at the more artistic concepts like the visual language in your drawings.
What Is The Visual Language In Storyboard Animation?
Visual language in storyboard animation is all about conveying a story or idea with imagery. It’s about using perspective, color, and shape to guide the audience to feel and see certain things. It’s about using lines to define figures and motion, shapes to represent different things and create emotion and movement, space to show depth and size, tone to create contrast and emphasize certain elements, and color to create moods and times of day. It’s about creating a visual story that will captivate and engage the audience. In short, it’s about using visuals to tell a story!
Again, visual language is an entire topic of its own. But I do want to point out a couple of important things here.
The principle of composition: the rule of thirds
The rule of thirds is a “rule of thumb” for composing visual images and can be applied to drawing your story boards.The guideline states that the image should be imagined as divided into nine equal parts by two equally spaced horizontal lines and two equally spaced vertical lines, and that your image is visually more appealing when you place your subject on one of these lines.
Of course it can also be an artistic choice to center your subject. There are many examples in movies where the visual style is more towards centering the main subject.
So think about what is needed for a good flow in the narrative and how the composition of the image can contribute.
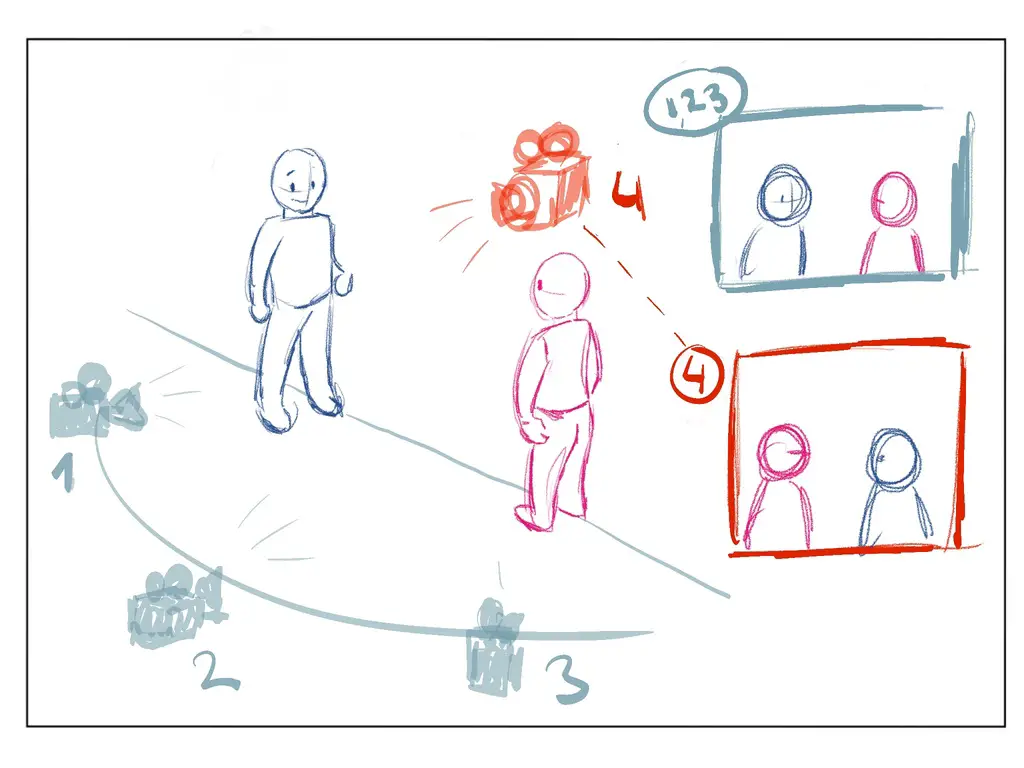
The 180 degree rule
So, what is the 180-degree rule and how does it work?
“The 180-degree rule states that two characters (or more) in a scene should always have the same left/right relationship with each other.”
The rule says that you draw an imaginary line between these two characters and try to keep your camera(s) on the same side of this 180-degree line.
Let’s say for example you have a master shot of two people talking. If the camera switches between the characters and the camera is on the same side, it should look like this.
If your camera crosses this line, your audience’s understanding of where the characters are and their left/right orientation will be thrown off, as you can see in the image below.
How to draw the camera moves and angles
Pan/tilt refers to the horizontal or vertical movement of a camera. It allows you to track a subject or follow movement within the frame. To plan a panning shot, you can create a storyboard with frames to show the camera’s starting and ending positions, and use arrows to indicate its movement direction.
A tracking shot is a technique to follow subjects that involves moving the entire camera from one place to another. It’s often used to follow a moving subject and can be done using tracks, a dolly, or handheld.

Zooming is adjusting the camera lens to bring the subject closer or further away. It’s not a movement of the camera itself. Zooming in frames the subject closer, while zooming out captures more of the scene.
How to make the most of your storyboard notes for (post) production
Whenever you’re shooting it’s always a good idea to write down any notes or comments you have. That way you’ll be able to plan ahead for what backgrounds or props you need during shooting. It’s also a great way to plan ahead for editing. For example when to make reference photos for post production removal.
During shooting you can write down camera settings, lighting settings and camera angles to easily pick up shooting for the next day.
Lastly the storyboards can also be used to write down how long a certain scene or sequence is. This is especially handy when you use sound effects, music or voice overs.
After finishing the storyboard
Once your storyboards are finished, you then can create an animatic. This is a preliminary version of the scene, using the individual frames of the storyboard. The animatic helps you determine the motion and timing of each shot. This way you can really get a good idea if the sequence is turning out to be as you intended.
Differences
Storyboard In Stop Motion Vs Animation
Stop motion and animation are two very different types of storytelling. Stop motion is a technique where objects are physically manipulated and photographed frame-by-frame to create the illusion of movement. Animation, on the other hand, is a digital process where individual drawings, models, or objects are photographed frame-by-frame to create the illusion of movement.
When it comes to storyboarding, stop motion requires a lot more planning and preparation than animation. For stop motion, you need to create a physical storyboard with detailed drawings and notes on how you plan to move each object. With animation, you can create a digital storyboard with rough sketches and notes on how you plan to animate each character or object. Stop motion is a lot more time consuming and labor intensive, but it can create a unique and beautiful look that can’t be replicated with animation. Animation, on the other hand, is much faster and can be used to create more complex stories with a wider range of characters and settings.
Storyboard In Stop Motion Vs Story Mapping
Stop motion storyboarding and story mapping are two different approaches to creating a visual representation of a story. Stop motion storyboarding is a process of creating a series of still images that depict the action of a story. Story mapping, on the other hand, is a process of creating a visual representation of the story’s narrative structure.
When it comes to stop motion storyboarding, the goal is to create a series of still images that accurately depict the action of the story. This method requires a great deal of creativity and imagination to create the desired effect. Story mapping, however, is more focused on the narrative structure of the story. It involves creating a visual representation of the story’s plot points and how they are connected. This method requires a great deal of planning and organization to ensure the story flows logically.
In a nutshell, stop motion storyboarding is all about creating a vivid visual representation of the story’s action, while story mapping is more focused on the narrative structure. Both methods require a great deal of creativity and planning, but the end results can be quite different. So if you’re looking to create a visual representation of your story, it’s important to consider which approach is best suited for your project.
Conclusion
Storyboards are an essential part of stop motion animation, helping you plan out your shots and make sure you have everything you need to tell your story. It’s also a great way to get everyone on the same page and make sure you’re all working towards the same goal. So, if you’re looking to get into stop motion or just want to learn a bit more about the process, don’t be afraid to take a trip to the nearest revolving sushi place and try all the delicious dishes!

Hi, I'm Kim, a mom and a stop-motion enthusiast with a background in media creation and web development. I've got a huge passion for drawing and animation, and now I'm diving headfirst into the stop-motion world. With my blog, I'm sharing my learnings with you guys.

