Lighting or illumination: Deliberately Use Light For The Perfect Shot

Lighting is one of the most important aspects of photography as it can makes or break your shot. Lighting is a tool that can help you control the mood of a photograph, as well as highlight specific details.
When used correctly, it can create striking photographs and a powerful narrative.
In this article, we will look at some of the basics of lighting, and why it is important to use deliberately in order to capture the perfect shot.
In this post we'll cover:
Why Lighting is Important
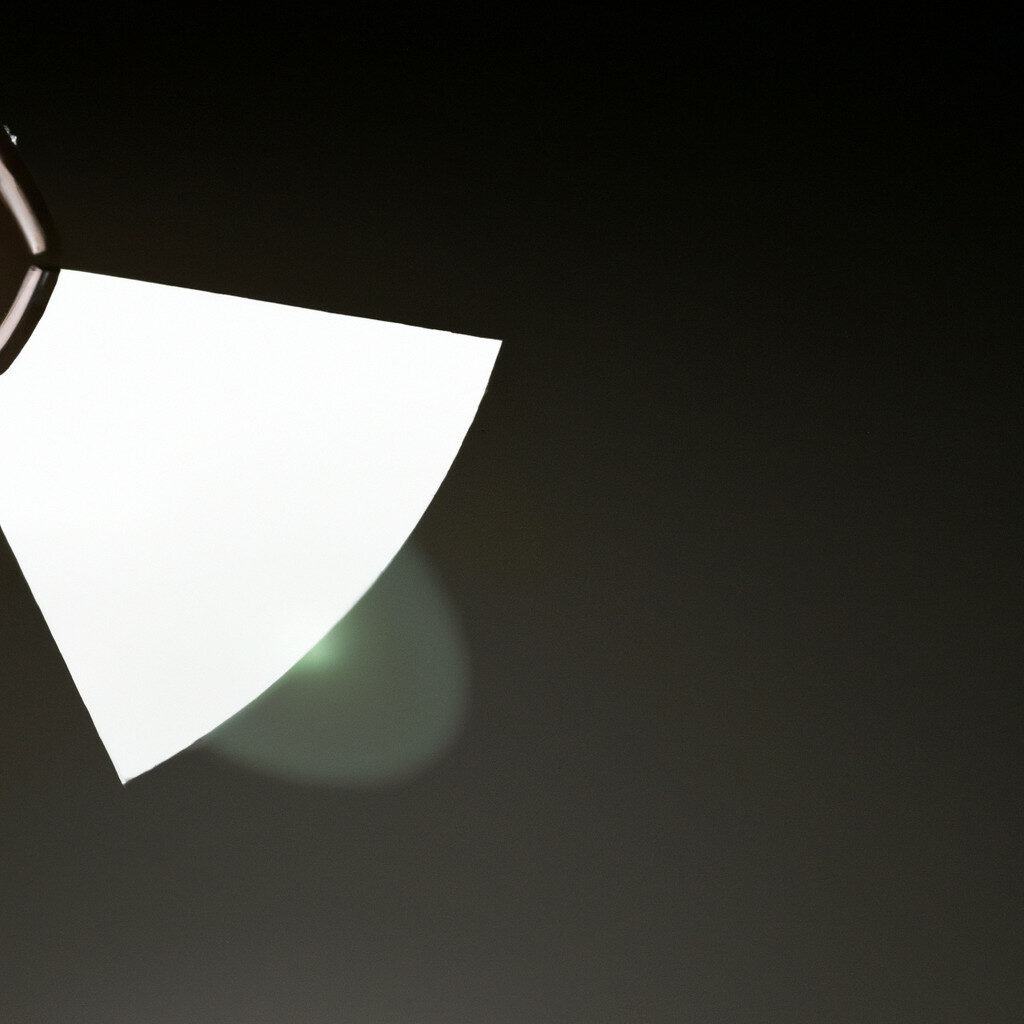
Lighting is an essential part of photography, especially for capturing the perfect shot. Lighting sets the mood of a picture, whether it’s bright and happy or dark and mysterious. It can be used to create shadows, emphasize a subject’s features, or provide stark contrast. Lighting also has the power to control the photos color balance and sharpness. Without it, you won’t have enough detail in your shot or bring out its finer points.
Whether you’re shooting with natural light from the sun or artificial light from a lamp or strobe, understanding light will take your photography skills to a new level. It’s all about balancing intensity and direction to create different effects that enhance each type of photo for its purpose.
Natural lighting: Natural lighting just means any kind of light that comes from an already existing source — like direct sunlight outdoors or ambient light coming through a window indoors — as opposed to purposefully created (artificial) lighting indoors/outdoors setups. Natural lighting is great for taking outdoor shots but tricky to maneuver since it changes according to time of day and weather conditions; there’s no turning off natural lighting when you don’t yet have enough shadow or brightness on your model!
Artificial lighting: Artificial lighting breaks down into two categories — continuous lights (which stay on constantly) and strobes (which provide ultra-brief bursts of intense illumination). Continuous lights offer flexibility as they don’t require setting up multiple shots like strobes do; but they are not very powerful compared to strobes and are often very unreliable in terms of capturing real-time movement accurately without having too much blurriness affect the result quality-wise.
Types of Lighting
Lighting is an essential part of any photo or video shoot. Different types of lighting can be used to create different effects in the final image. There are several types of lighting that can be used, such as natural, studio, and artificial lighting. Each has its own advantages and disadvantages, so it’s important to understand the different types of lighting and how they can be used to create the perfect shot.
Natural Lighting
Natural lighting is the use of naturally occurring light to illuminate a scene or subject. It is an essential tool in creating an aesthetically pleasing photograph and works especially well for nature shots, portraiture and landscape photography. Sunlight is the most common source of natural light available, but many photographers also utilize moonlight, twilight or even candlelight to capture different effects. Natural lighting requires attention to detail and finesse that comes with practice as it can vary drastically depending on the time of day and year.
The shade or shadows created by natural light can add texture, atmosphere and drama to your image. Open windows, room lights and mirrors are all useful tools for amplifying natural lighting in both indoor and outdoor settings. Natural light is free, dynamic and pleasant; however, it can be unpredictable when shooting outdoors due to changing weather conditions like clouds passing over the sun, sudden gusts of wind causing trees to move or even heavy rainstorms obscuring views. It’s important to be patient with Mother Nature!
To summarize, there’s no substitute for the beauty that only natural light can bring to a photo. As long as you come prepared with an abundance of patience plus problem solving skills you will be rewarded with stunning photos from your efforts! The key here is experimentation – don’t just put your camera in one spot given the same kind of lighting because you won’t get a properly lit shot that way every time – it’s good practice to move around your subject/scene until you get what looks best!
Artificial Lighting
Artificial lighting is great for adding depth, filling in unwanted shadows, and coloring the scene. Whether you use natural or artificial light, you need to pay attention to the details. Different sources of artificial lighting such as tungsten, dimmable fluorescent and HMI can create a range of color balance in your image. In order to get the most out of each lighting source, it is important to understand the properties associated with each type of lighting.
Tungsten Lighting
Tungsten (also called incandescent) bulbs are used in standard household lamps as well as professional stage lights. When these lights are dimmed, they create a warm orange or yellow glow around an object. Tungsten bulbs have a “temperature” rating which is measured in degrees Kelvin (or K). Generally speaking, the higher the K temperature rating translates into a more bluish light source. Lower K ratings will produce more yellowish tones.
Dimmable Fluorescent Lighting
Fluorescent bulbs contain chemical elements that emit visible light when electricity passes through them. Fluorescent bulbs are perfect for creating a wide range of color temperatures from cool blue tones to warm reds and yellows. You can also control the brightness of fluorescent lighting by using remote controls or dimming switches or knobs on your lights themselves.
HMI Lighting
HMI (hydrargyrum medium-arc iodide) is an arc lamp that produces pure white light when electricity passes through its gaseous elements inside the bulb’s envelope. This type of bulb is generally used for motion picture stages and special effects lighting because it does not require warm up time like tungsten and fluorescent lighting do. HMI lamps are perfect for creating that mid-day sunlight look outdoors on a cloudy day or even simulating daylight indoors with studio strobes around your subject matter.(…)
Lighting Techniques
The right lighting can have a dramatic effect on the mood and atmosphere of a photo or video. There are various techniques that photographers and videographers use to create the perfect shot. Different lighting techniques can create stunning visuals and evoke emotion from the viewer. In this section, we’ll cover the basics of lighting and learn about some of the most common lighting techniques.
Backlighting
Backlighting is a technique in which the primary light source is placed behind your subject, and then pointed towards your camera. This technique can be used to create stunning figures of light on the subject, while adding a very dramatic effect to your image. Backlighting works especially well with golden hour shots and night photography, where the highlights of your subject are further accentuated by the use of backlight.
When setting up for backlight photography, be sure to place the light in such a way that it does not cause lens flare or hot spots in front of your camera. This can easily ruin an otherwise fantastic shot! To achieve a proper backlit look, rotate or angle the light such that it strikes behind or to the side of your subject and diffuses around them before reaching you. Try experimenting with different angles and distances to achieve different effect – from creative silhouettes against golden hour skies to strong key-light defining textures from behind.
By embracing backlighting techniques you will be able to take stunning photos every time!
Side Lighting
Side Lighting is a type of lighting technique where the light is placed to the side of the subject being filmed. This technique can add a dramatic effect to shots and help bring out texture, shape and contrast in the image. It creates shadows that draw attention to specific areas, giving the shot a sense of depth that can be very pleasing. Depending on the strength and direction of light, shadows will usually define one or two sides of an object, making it feel more three-dimensional. If you want to emphasize your subject’s features, such as facial features in portraiture, side lighting from behind or from in front (but still off-center) can create strong chiaroscuro outlining for greater emphasis.
Getting started with your own stop motion storyboards
Subscribe to our newsletter and get your free download with three storyboards. Get started with bringing your stories alive!
We'll only use your email address for our newsletter and respect your privacy
Fill Lighting
Fill lighting is used to reduce the contrast of your composition by illuminating the areas in shadow. It can be used for both photography and video, and it is considered one of the most important types of lighting. Generally, a softer, more diffused light source is used for fill lighting — like a reflector, softbox, umbrella or bounce card — that is angled towards the subject in order to “fill in” any shadows created by other sources of light. The idea behind fill lighting is to add just enough illumination so that it balances out the other light sources in your frame while still leaving some shadows and texture. This creates an image with even illumination across all areas and better defines shapes within your scene. Fill lighting also helps to boost details in darker parts of your image while reducing harsh highlights caused by brighter elements in shots as well as hotspots on faces when shooting portraits. Experiment with different angles and placement for your fill lights until you achieve the effect you’re looking for!
Lighting Equipment
Good lighting equipment is essential for creating the perfect shot. Whether you’re shooting a video or taking photos, understanding the basics of lighting is key to creating a professional looking image. Different lighting equipment can be used to adjust the intensity and direction of the light to create the desired look in your photographs. Let’s take a look at some of the most popular pieces of lighting equipment.
Softboxes
Softboxes are an essential light modifier for portrait and close up photography. Softboxes are designed to create a wide and even light, resembling the qualities of natural window light. Instead of a hard, direct lighting source, these modifiers soften and diffuse the light at its entry point. This diffusion (thinning out) of the beam allows it to spread evenly over your subject illuminating shadows gently, softening wrinkles or blemishes and creating flattering lines on your model’s face and body.
Softboxes come in two styles, square/rectangular or octagonal/strip shape designs, both will create soft wrap-around lighting for your subject. This quality is due to the walls that form the inside of the box – think about when you look at a box from above – this is similar to what happens with light reflecting from within a softbox. The walls disperse and thin out the beam before hitting your subject providing more covered area for even lighting coverage over your subject’s face or body rather than just one larger spotlight-like source flooding over them. Additionally, since most softbox styles have adjustable fronts you can open or close more of these walls – giving yourself control over directional break up as needed throughout your shoots.
The size of a softbox is also important in determining how you want to sculpt/shape a lighting set up depending on whether it’s portraiture or product photography where you desire lots of coverage but limited wraparound quality vs small products that require detail around edges that may need higher contrast distinctions or catch-lights like eyes require pinpoint accuracy with focused controls on directionality…
Umbrellas
Umbrellas are a common type of lighting equipment used in both photography and videography. They’re inexpensive, lightweight and easy to transport, making them an appealing choice for amateurs as well as professionals.
An umbrella is a great tool for creating diffused light. Diffused light means the illumination is softened and spread out so that the subject isn’t directly lit with a single harsh beam that causes hotspots or deep shadows. Umbrellas can be used with off-camera flash units, studio strobes or natural sunlight to create beautiful lighting for your photo or video shoot.
Umbrellas come in two distinct types: shoot-through umbrellas, which have a white panel at one end; and reflective umbrellas, which consist of a white covering on one side and silver coating on the other. Shoot-through umbrellas are slightly more transparent than reflective ones but let slightly less light through — still enough to produce wonderfully illuminated photos and videos though! With reflective umbrellas you’ll get more intense light output since some of the light is reflected back into your scene by its silver backing.
To use an umbrella effectively, it should be held at least 30 inches away from your subject which will achieve maximum diffusion and give you soft, pleasing results without harsh shadows or overly bright highlights. You can also adjust how far away the umbrella is depending on how dramatic you want the lighting effect to be — closer distances mean more intense lighting while farther distances mean extra diffusion in contrast to overall brightness levels.
Reflectors
A light reflector helps to maximize the amount of light that you can use outdoors, making shooting in bright conditions easier and more effective. They come in a range of shapes, sizes and materials, giving you the opportunity to tailor your lighting setup to a specific mood or effect.
The most common type of reflector is a five-in-one; this foldable type has interchangeable panels which allow you to control (bounce) the direction and intensity of the light. Most come with layers for gold, silver or white reflecting surfaces as well as black (for eliminating spill). Their small size makes them easy to transport and use on location.
Other types include square or octagonal metal frames with fabrics stretched across them: often silk, abrasine or pleated tissue paper. If used creatively (taking into account not only their effects on brightness but also their ability to produce reflections, shadows and silhouettes) they can provide stunning results, even on limited budgets. They are also ideal for studio shoots when extra light sources may be hard to come by.
Finally rigid white boards or dicers usually made from foam core covered in reflective Mylar can be used for additional control over illumination and are especially useful when shooting volumetric effects such as fireworks over long distances.
Conclusion
Lighting or illumination is essential to good photography. You can’t take great shots without being able to play with the light. And don’t just rely on your in-camera flash, learn how to use different light sources and illumination techniques to create a range of effects. To get the best out of any shot, you must take control of the light you want and make adjustments as needed.
Whether you’re shooting indoors or outdoors, try different approaches and techniques to capture creative photos with unique styles and looks. With these principles in mind, let your imagination run wild as you explore and experiment with lighting your perfect shot!

Hi, I'm Kim, a mom and a stop-motion enthusiast with a background in media creation and web development. I've got a huge passion for drawing and animation, and now I'm diving headfirst into the stop-motion world. With my blog, I'm sharing my learnings with you guys.
