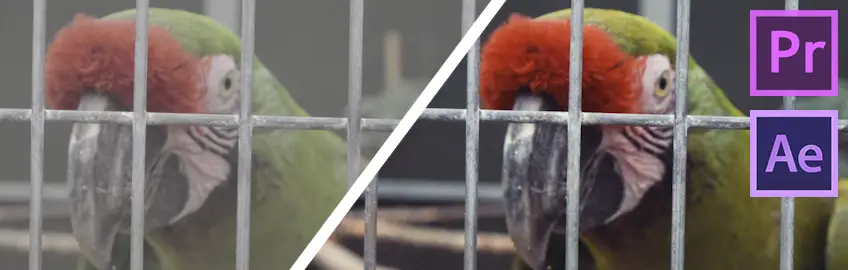
Color correction in After Effects and Premiere Pro with LUTS

In this post we'll cover:
What is a LUT?
A Look Up Table or LUT is a combination of parameters with which profiles are composed. In video editing, LUTS are used to calculate the difference between the Source and Result.
LUTs are often used to “color grade” video material, so apply color corrections. There are two ways to use LUTs, each with their own objectives.
LUT to remove properties
If you film with a Sony or RED camera, you get different shots.
A LUT adjusts the image based on existing properties with the aim of displaying the image as neutrally as possible on a reference monitor. From that neutral position you can make further color corrections.
LUTs to add properties
If you view the material on your reference monitor, you can adjust the image to the final format using a LUT.
For example, if you want to print the result on real film, it is necessary to adjust the colors so that the print corresponds to the desired color corrections.
On the other hand, you can also add properties, for example a film-look effect to mimic certain characteristics.
A LUT does not equal color grading
With a LUT you can give the material a different look at the push of a button. Sometimes this is used to quickly give the montage a specific look.
But in principle, a LUT is intended to optimize the display on your monitor for manual color correction.
You want the input to be perfectly calibrated and you want to fine-tune the output to the desired format.
Getting started with your own stop motion storyboards
Subscribe to our newsletter and get your free download with three storyboards. Get started with bringing your stories alive!
We'll only use your email address for our newsletter and respect your privacy
Our favorite companies that create LUTs profiles:
You can experiment to your heart’s content with LUTS in After Effects and Premiere Pro. Keep in mind that a LUT profile is a basis (between source and result), it is not a one-touch solution for all your color corrections.
How to import a LUT
See the examples below for instructions on how to import a LUT.
It is recommended to create an Adjustment Layer first and place the LUT utility on the Adjusment Layer
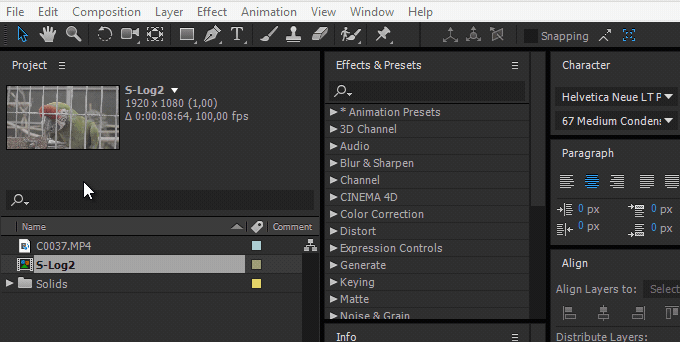
Adobe After Effects
Adobe Premiere Pro CC

Hi, I'm Kim, a mom and a stop-motion enthusiast with a background in media creation and web development. I've got a huge passion for drawing and animation, and now I'm diving headfirst into the stop-motion world. With my blog, I'm sharing my learnings with you guys.

