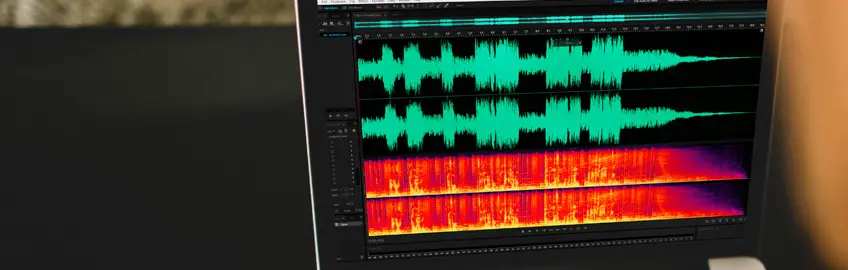
How to fix audio in Adobe Audition

Recording good sound during movie recording is one of the biggest challenges in film and video production.
Although nothing is better than a sound recording that is already perfect on set, you can fortunately fix many errors in Adobe Audition.
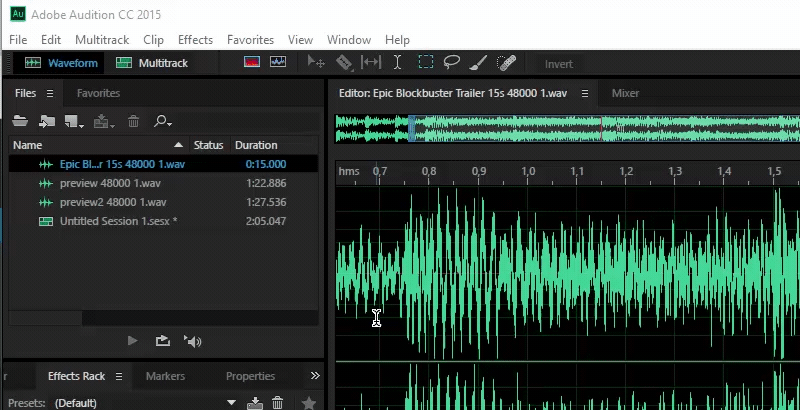
Here are five features within Audition that will hopefully save your audio:
In this post we'll cover:
Noise Reduction effect
This effect in Audition allows you to remove a constant sound or tone from a recording.
Think, for example, of the buzzing of an electrical device, the noise of a tape recording or a fault in the cabling that caused a hum in the recording. It must therefore be a sound that is continuously present and remains the same in character.
There is one condition to make the most of this effect; you need a piece of audio with just the “wrong” sound. That is why it is important to always record a few seconds of silence at the start of a recording.
With this effect you will lose part of the dynamic range, you have to make the trade-off between loss of sound and suppressing the disturbing part. Here are the steps:
- Assume sound without DC offset to avoid clicking. To do this, choose Repair DC Offset in the menu.
- Choose a part of the audio with only the disturbing sound, at least half a second and preferably more.
- In the menu, choose Effects > Noise Reduction/Restoration > Capture Noise Print.
- Then choose the part of the audio in which to remove the sound (often the entire recording).
- From the menu, choose Effects > Noise Reduction/Restoration > Noise Reduction.
- Choose the desired settings.
There are a number of settings to filter the audio optimally, experiment with different parameters.
Sound Remover effect
This sound remover effect removes certain parts of the sound. Suppose you have a music recording and you want to isolate the vocals, or use this effect when you want to suppress the passing traffic.
With “Learn Sound Model” you can “teach” the software how the recording is structured. With “Sound Model Complexity” you indicate how complicated the composition of the audio mix is, with the “Sound Refinement Passes” you get a better result, but calculations take considerably longer.
Getting started with your own stop motion storyboards
Subscribe to our newsletter and get your free download with three storyboards. Get started with bringing your stories alive!
We'll only use your email address for our newsletter and respect your privacy
There are still a few setting options, the option “Enhance for Speech” is one of the most commonly used options. With that, Audition will attempt to preserve the speech during the filtering process.
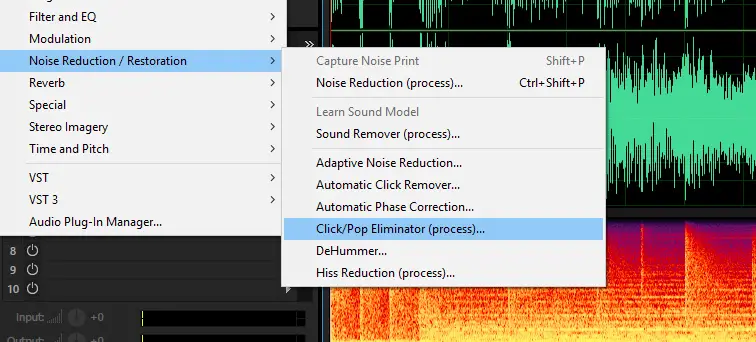
Click/Pop Eliminator
If the recording has many small clicks and pops, you can remove them with this audio filter. Think, for example, of an old LP (or a new LP for the hipsters among us) with all those little creaks.
It could also have been caused by a microphone recording. By applying this filter you can remove those irregularities. You can often see them in the waveform by zooming in far.
In the settings you can choose the decibel level with the “Detection Graph”, with the “Sensitivity” slider you can indicate whether the clicks occur often or far apart, you can also remove a number with “Discrimination”. indicate irregularities.
Sometimes sounds that do belong in the recording are filtered out, or errors are skipped. You can also set that. Here, too, experimentation gives the best results.
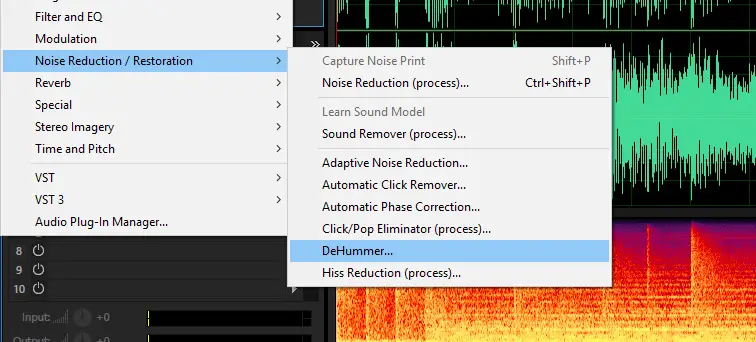
DeHummer effect
The name says it all “dehummer”, with this you can remove a “hummmmm” sound from the recording. This kind of noise can occur with lamps and electronics.
For example, consider a guitar amplifier that emits a low tone. This effect is similar to the Sound Remover Effect with the main difference that you don’t apply digital recognition but you filter a certain part of the sound.
There are a number of presets with the most common filter options. You can also adjust the settings yourself, which is best done by ear.
Put on a good pair of headphones and listen to the differences. Try to filter out the wrong tone and influence the good audio as little as possible. After filtering you will also see this reflected in the waveform.
That low but persistent rash in the audio should be smaller, and at best completely gone.
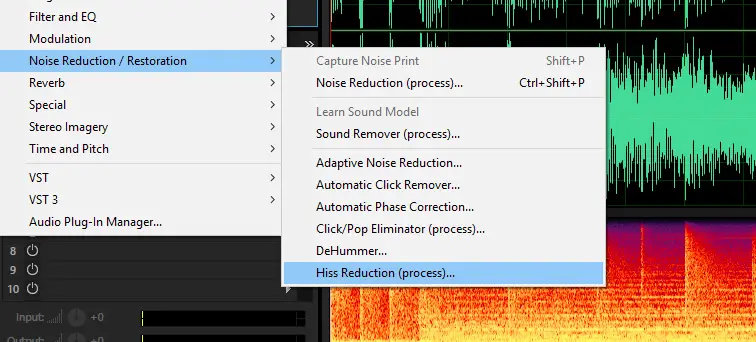
Hiss Reduction effect
This hiss reductioneffect is again very similar to the DeHummer Effect, but this time hissing tones are filtered out of the recording. Think, for example, of the sound of an analog cassette (for the seniors among us).
Start with “Capture Noise Floor” first, which, like the Sound Remover Effect, takes a sample of the waveform to determine where the problem is.
This allows the Hiss Reduction to do its job much more accurately and remove the hiss sound as much as possible. With the Graph you can see exactly where the problem is and whether it can be removed.
There are a few more advanced settings you can experiment with, each shot is unique and requires a different approach.
Conclusion
With these Adobe Audition effects you can solve the most common problems with audio. Here are some more practical tips to take audio editing to the next level:
- If you often want to perform the same operations with similar problems, you can save the settings as presets. If you have made the recordings under the same conditions next time, you can quickly clean them up.
- For audio editing, use headphones with a wide frequency range and a neutral sound. For example, no Beats headphones, they pump the bass too far. Sony headphones are often used for studio work, Sennheizer usually gives a natural sound color. In addition, reference speakers are also indispensable, it sounds different through headphones than through speakers.
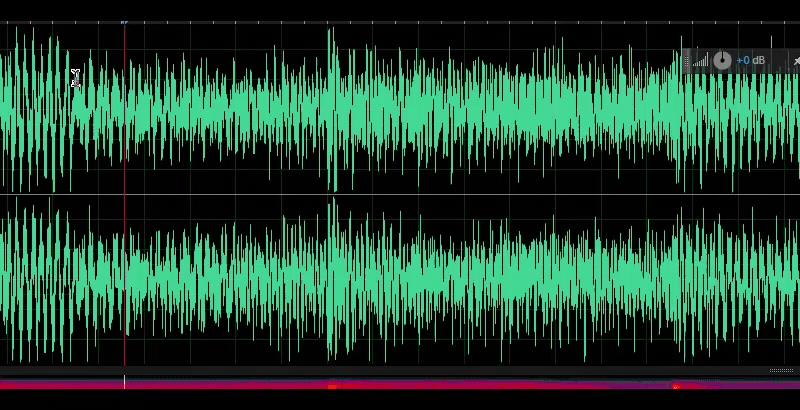
- For many problems you don’t even need your ears, look closely at the waveform, zoom in and look for the errors. Clicks and Pops are clearly visible and if the filter falls short you can also remove them manually.
- When removing a persistent frequency you will usually filter the entire recording. Test a smaller selection first, that is much faster. If it is correct, apply it to the entire file.
- If you don’t have the budget for Adobe Audition, or you’re not on your work computer and don’t want to work with a pirated copy, you can use Audacity completely free of charge. This multi track audio editor can be used for Mac, Windows and Linux, you can also use various plugins in addition to the built-in filters.

Hi, I'm Kim, a mom and a stop-motion enthusiast with a background in media creation and web development. I've got a huge passion for drawing and animation, and now I'm diving headfirst into the stop-motion world. With my blog, I'm sharing my learnings with you guys.
