How to make a storyboard and Shotlist: production must-haves!
I wrote an updated article about “how to use storyboarding for stop motion animation“, you might want to check out.
A good start is half the work. With a video production, good preparation will save you a lot of time, money and aggravation once you are on set.
A storyboard is an excellent tool to streamline your production.

In this post we'll cover:
What is a Storyboard?
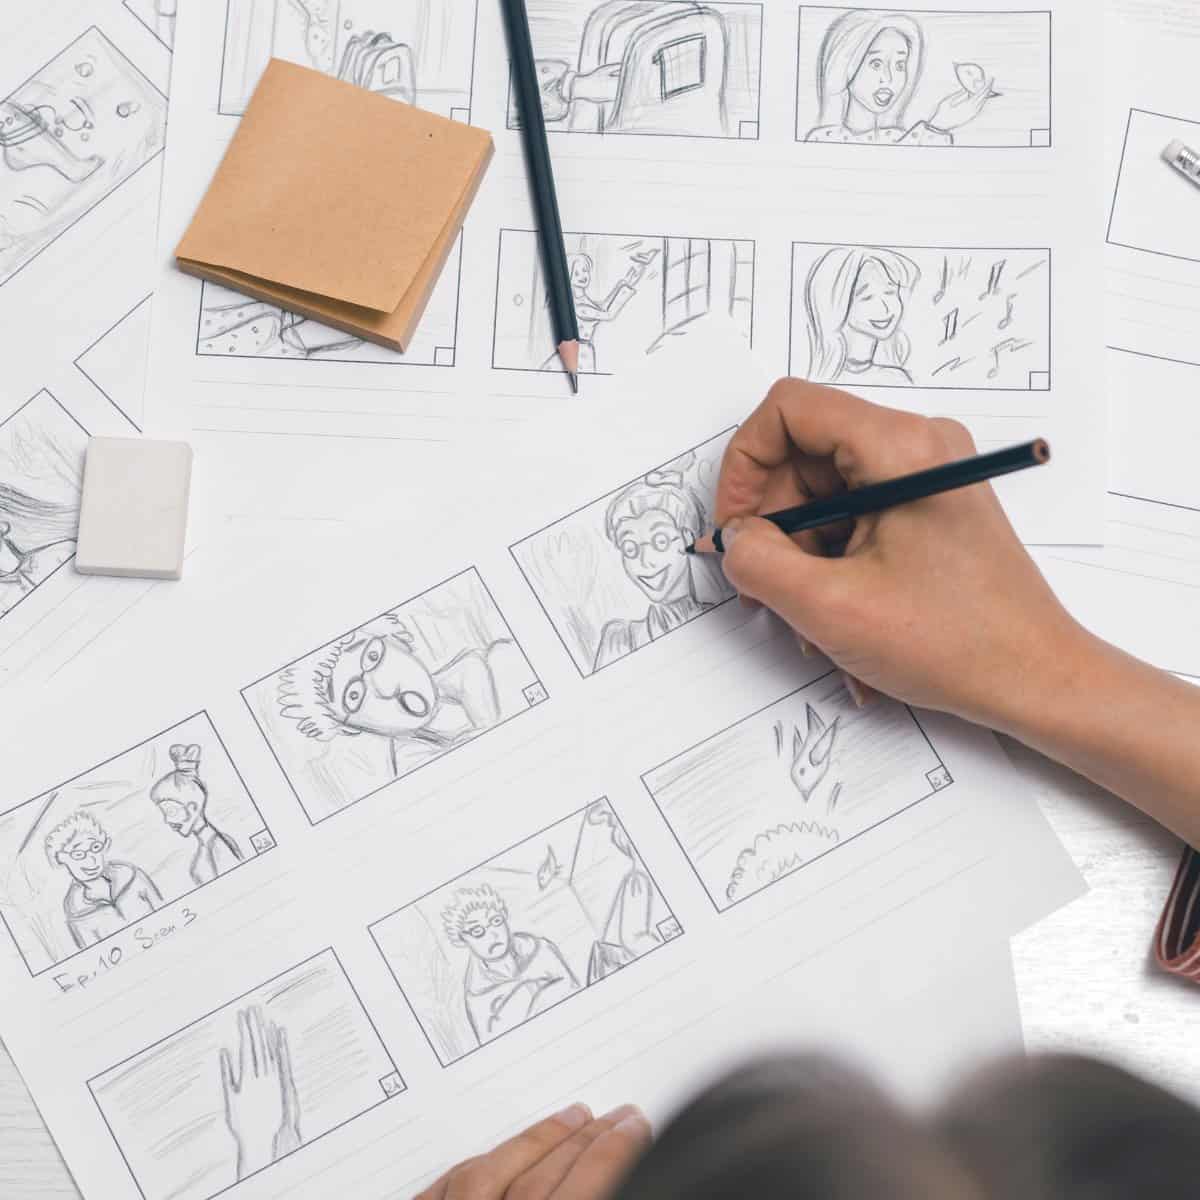
Basically it’s your story as a comic book. It is not about your drawing skills, but about the planning of shots. Detail is less important, be clear.
You can draw a storyboard like a comic strip on a number of A4 sheets, you can also work with small post-it notes with which you can put the story together like a puzzle.
With the “puzzle” method you only have to draw simple points of view once, then you just copy them.
Which standard shots should I use?
A storyboard should provide clarity, not confusion. Limit yourself to standard cuts as much as possible unless there is a good reason to deviate from them. You can always make notes under the pictures.
Extreme Long or Extreme Wide Shot
Shot from far away to show the character’s surroundings. The environment is the most important part of the shot.
Long / Wide / Full Shot
Like the shot above, but often the character is more prominent in the picture.
Medium Shot
Uptake from about the middle.
Getting started with your own stop motion storyboards
Subscribe to our newsletter and get your free download with three storyboards. Get started with bringing your stories alive!
We'll only use your email address for our newsletter and respect your privacy
Close Up Shot
Face shot. Often used for emotions.
Establishing Shot
You see the location where the scene takes place.
Master Shot
Everyone or everything in the picture
Single Shot
One person in the picture
Over the Shoulder Shot
One person in the picture, but the camera “looks” past someone in the foreground
Point of View (POV)
From a character’s point of view.
Doubles / Two Shot
Two people in one shot. You can deviate from and nuance this, but to start with, these are the most common cuts.
Draw a storyboard yourself or digitally?
You can draw all the pictures by hand, for many filmmakers that gives extra insight and inspiration. You can also use an online tool like StoryBoardThat.
You drag your character into boxes with which you quickly put together a storyboard. Of course you can also start drawing in Photoshop or use clip art from the internet.
Video or Photo storyboard
A technique that Robert Rodriguez pioneered; use a video camera to create a visual storyboard. In fact, make a no-budget version of your film to visualize the course of your production.
If the movement would distract you, you can also do this with a photo camera or smartphone. Cut pictures of all shots (preferably on location) and make a storyboard of them.
This way you can also clearly explain to the cast and crew what the intention is. You are also well on your way with the planning of the installation. Pro-Tip: Use your LEGO or Barbie collection!
Shot list
In a storyboard you create a chronological story with images. This allows you to quickly see the way in which individual shots fit together and how the story progresses visually.
A shot list is an addition to the storyboard that helps to plan shots on set and make sure you don’t miss any important footage.
To set priorities
In a shot list you clearly indicate what should be in the picture, who and why. You start with the most important images such as the total shot. It’s also important to film the protagonists quickly, those shots are essential.
A close-up of a hand holding a key is less important, you can always take it afterwards in a different location and even with another person.
In the shot list you can also deviate from the order in the script. That is why it is very important that someone keeps track of the recorded shots and can quickly see which images are still missing.
If you notice when editing that you didn’t film a close-up of that important monologue, you still have a problem.
Also keep in mind the location in the shot list. If you only have one chance to film, for example because the weather could change, or if you’re filming on a Caribbean island and unfortunately it’s the last day, make sure you have all the footage you can use in the editing.
Insert images such as reactions from people and close-ups of objects and faces usually come at the end of the shot list.
This also applies to neutral images of waving trees or birds flying over, unless you are filming very location-specifically.
Design a clear shot list, have someone keep it accurately and share it with the director and camera crew.
Hi, I'm Kim, a mom and a stop-motion enthusiast with a background in media creation and web development. I've got a huge passion for drawing and animation, and now I'm diving headfirst into the stop-motion world. With my blog, I'm sharing my learnings with you guys.

