How to use Audio in Video and get the right levels for Production

In video productions, the emphasis is often placed on the image. The camera has to be in the right place, the lamps have free space, everything is set and positioned for the perfect picture.
The sound/audio often comes second. The term “audiovisual” doesn’t start with “audio” for nothing, good sound adds a lot to a production and bad sound can break a good film.
With a few practical tips you can audibly improve the sound of your productions.
Few branches of the film industry are as subjective as sound. Ask ten audio specialists about sound and you will get ten different answers.
That’s why we’re not going to tell you exactly what to do, we’re just going to show you how to record and edit sound recordings more efficiently.
And it already starts during the recording, “we’ll fix it in post” is not an issue here…
In this post we'll cover:
Audio recording on set
You probably understand that the built-in microphone of a camera is not enough.
In addition to the sound quality, you run the risk of recording sounds from the camera, and with variation in distance from the subject, the sound level will also differ.
Record the sound with the camera if you can, that makes syncing easier later and you have a backup track if everything goes wrong.
So record the sound separately, preferably with a directional microphone and a clip microphone if speech is important. Also always record the ambiance of the room, at least 30 seconds, but preferably a lot longer.
Getting started with your own stop motion storyboards
Subscribe to our newsletter and get your free download with three storyboards. Get started with bringing your stories alive!
We'll only use your email address for our newsletter and respect your privacy
Try to turn off as many fans and other disruptors as possible.
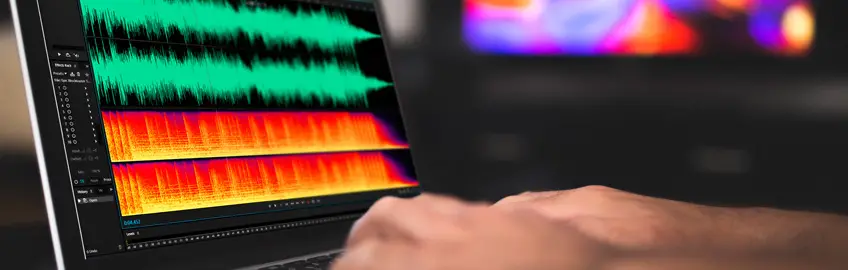
Installation in a NLE
Just like spreading your video across video tracks, you also divide audio into different tracks. Label them and always keep a consistent layout and order with each project.
For each live recording linked to the video source, take one track, one track for speech per person, one track for music so that you can also overlap, one sound effects track and one track for ambient sound.
Since audio is usually recorded in mono, you can also duplicate tracks to create a stereo mix later. But basically organization has priority.
This way you can easily find the right audio and adjust and adjust an entire layer if necessary.
That can be louder!
Digital sound is right or wrong, there are no other flavors. Never go over 0 decibels, -6 is usually default, or lower around -12. Take audio peaks into account, for example an explosion, which should also not be louder than 0 decibels.
You can adjust too soft later, too hard is always wrong. Also note that not every speaker or headphone has the same range and proportions.
If you make a YouTube video, there is a good chance that it will be played on a mobile device, and those speakers have a very different range than a Home Cinema set.
Pop music is often mixed for different devices.
If possible, keep the individual tracks as sound files after final editing.
Suppose you’ve used commercial music that you don’t have rights to for internet distribution, then you’ll have a problem unless you can delete this track later.
Or the producer decides to replace the actor’s voice altogether. For a nice example, see “Brandende Liefde” with Peter Jan Rens. The voice belongs to Kees Prins!
For commercials and radio music, sound is often normalized, then all peaks are brought together, so that the volume is equal throughout the entire production.
That’s why commercials often look like that, and that’s why pop music sounds less complex than it used to.
Correct audio levels for video
| Final mix / Total mix | -3 dB tot -6 dB |
| Audio Speaker / Voice Over | -6 dB tot -12 dB |
| Sound Effects | -12 dB tot -18 dB |
| Music | -18 dB |
Conclusion
Good sound can take a production to the next level. Make sure you have a good recording on the set so that you can put together a nice mix afterwards. Work with organized tracks so you can find and control everything.
And keeps the option to create a new mix afterwards. And replace the lead actor’s voice with Kees Prins, that seems to help too!

Hi, I'm Kim, a mom and a stop-motion enthusiast with a background in media creation and web development. I've got a huge passion for drawing and animation, and now I'm diving headfirst into the stop-motion world. With my blog, I'm sharing my learnings with you guys.
