How do you make a stop motion wire armature & best wire to use
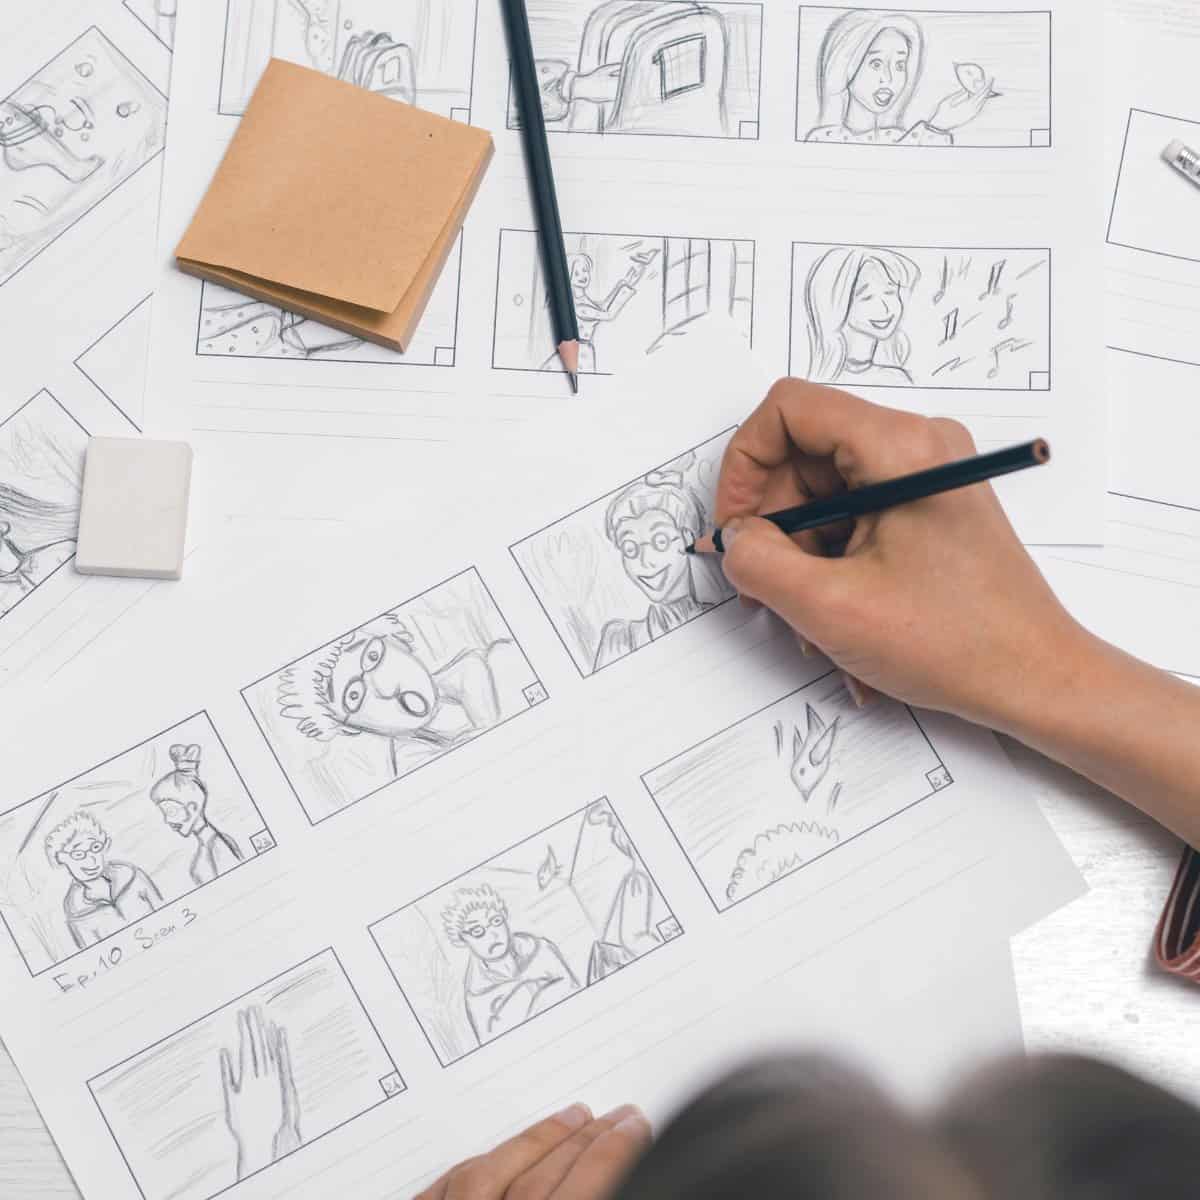
Once you have a storyboard and a camera to shoot stop motion animations, it’s time to create your armatures.
Some people like to use LEGO figures or dolls but nothing beats making your own stop motion armatures out of wire.
Armatures give a sculpture structure, and choosing the correct wire will affect the durability of the finished item.
The effect on the sculpture depends upon pliability and the available gauge sizes.
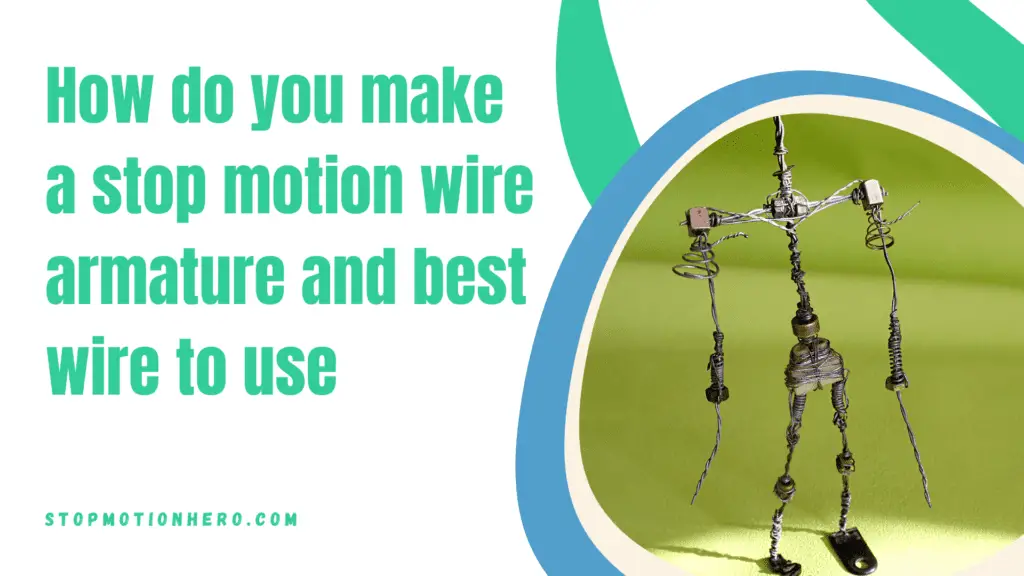
Understanding the material’s properties and its effects on the puppet-making process can help you choose the best option for your project allowing for the best possible result.
The ultimate armature wire for all skill levels is something like the 16 gauge Jack Richeson Armature Wire because it’s thin and pliable so you can work with it in many ways and it’s quite an affordable material.
In this guide, I’ll share the best types of wire for stop motion puppets plus review the best options on the market.
So, if you’re ready to start bending and creating, keep reading because I also share a basic guide to making an armature.
| Best wire for stop motion armatures | Images |
| Best overall & best aluminum wire for stop motion armatures: Jack Richeson Armature Wire | 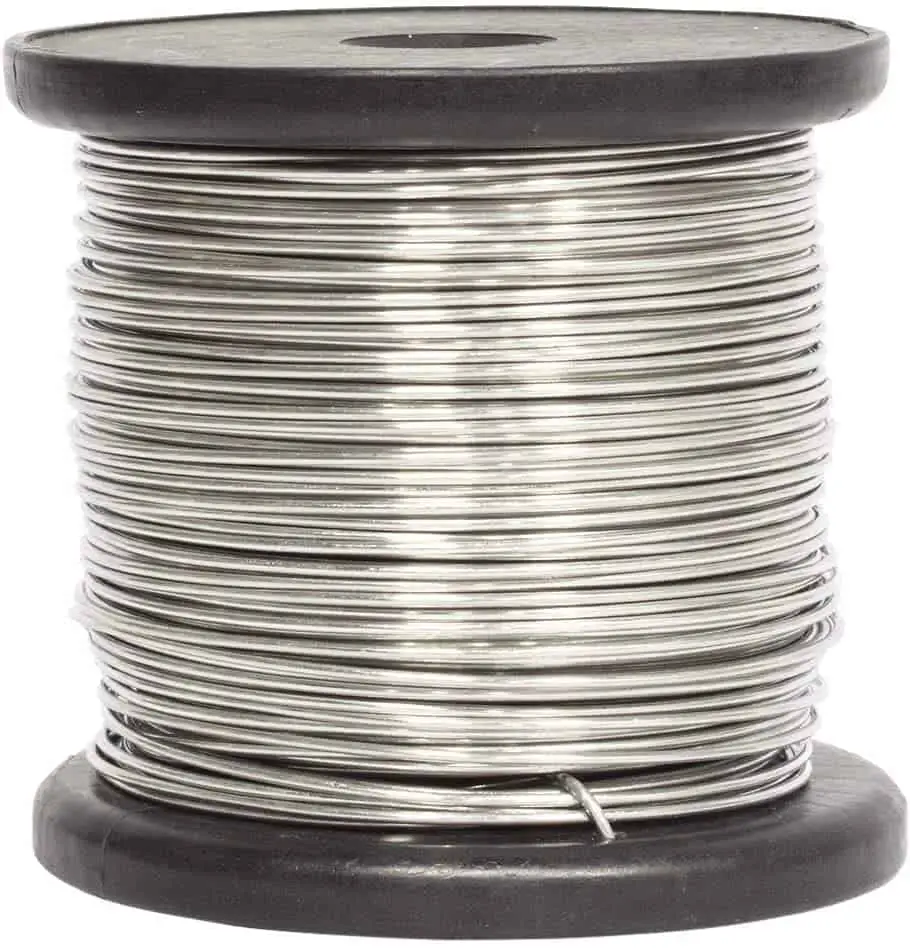 (view more images) |
| Best thick wire for stop motion armatures: Mandala Crafts Anodized Aluminum Wire | 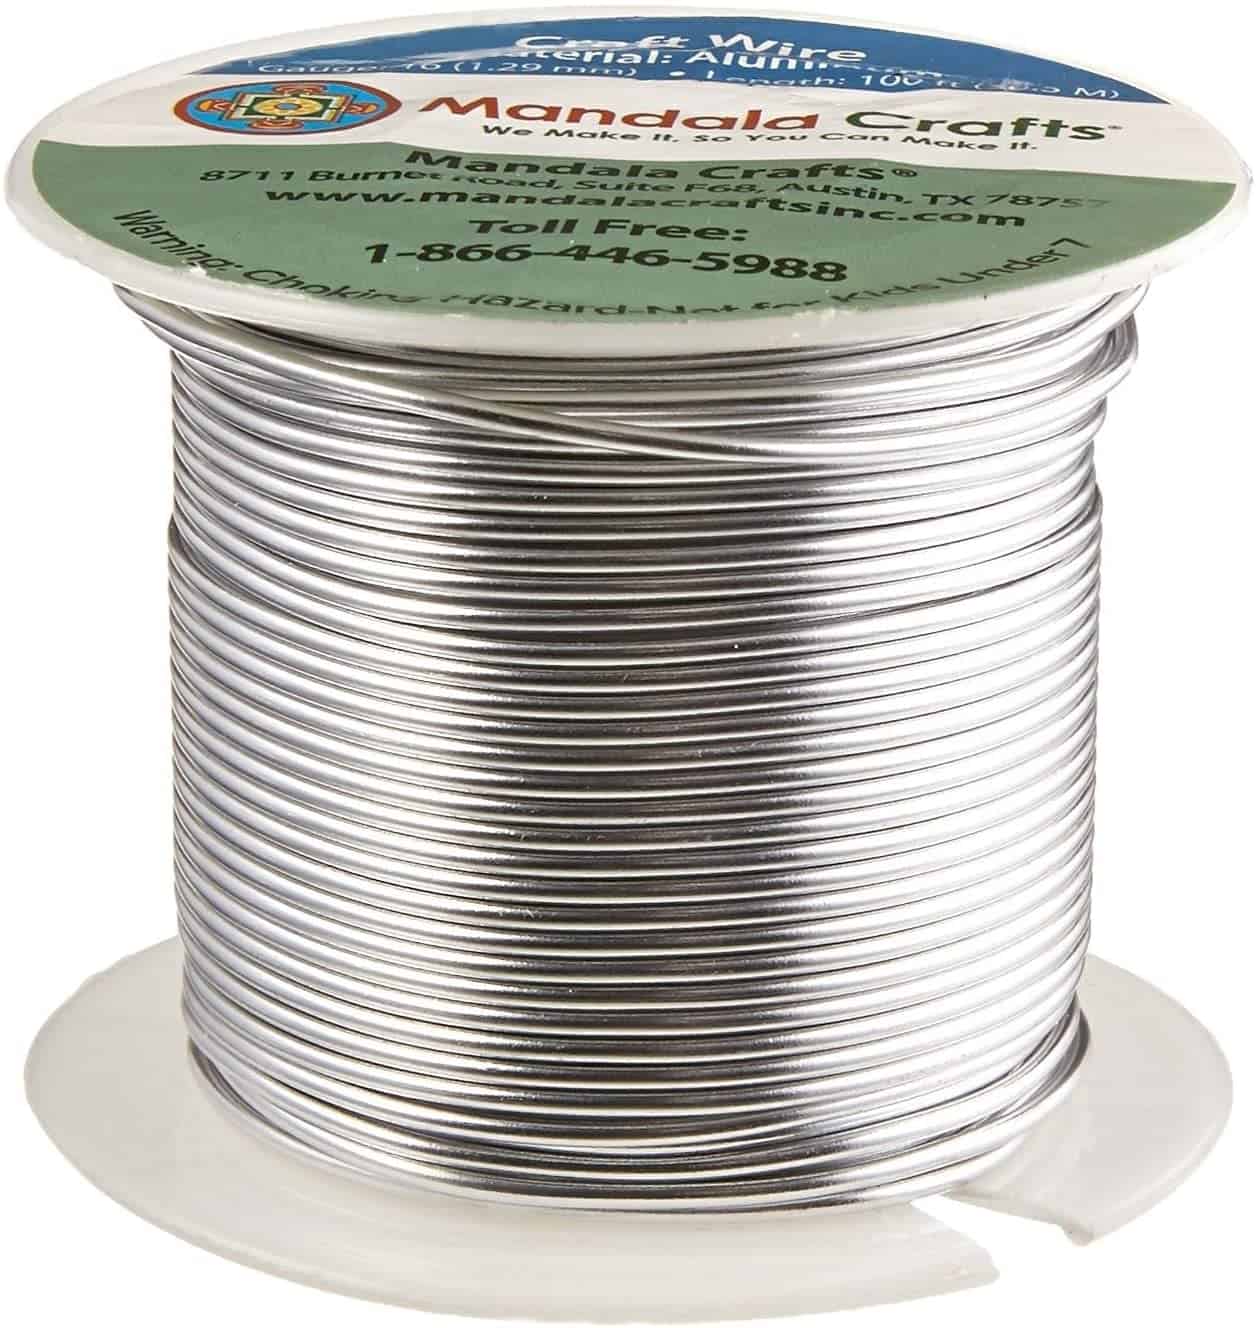 (view more images) |
| Best cheap wire for stop motion armature: Zelarman Aluminum Craft Wire | 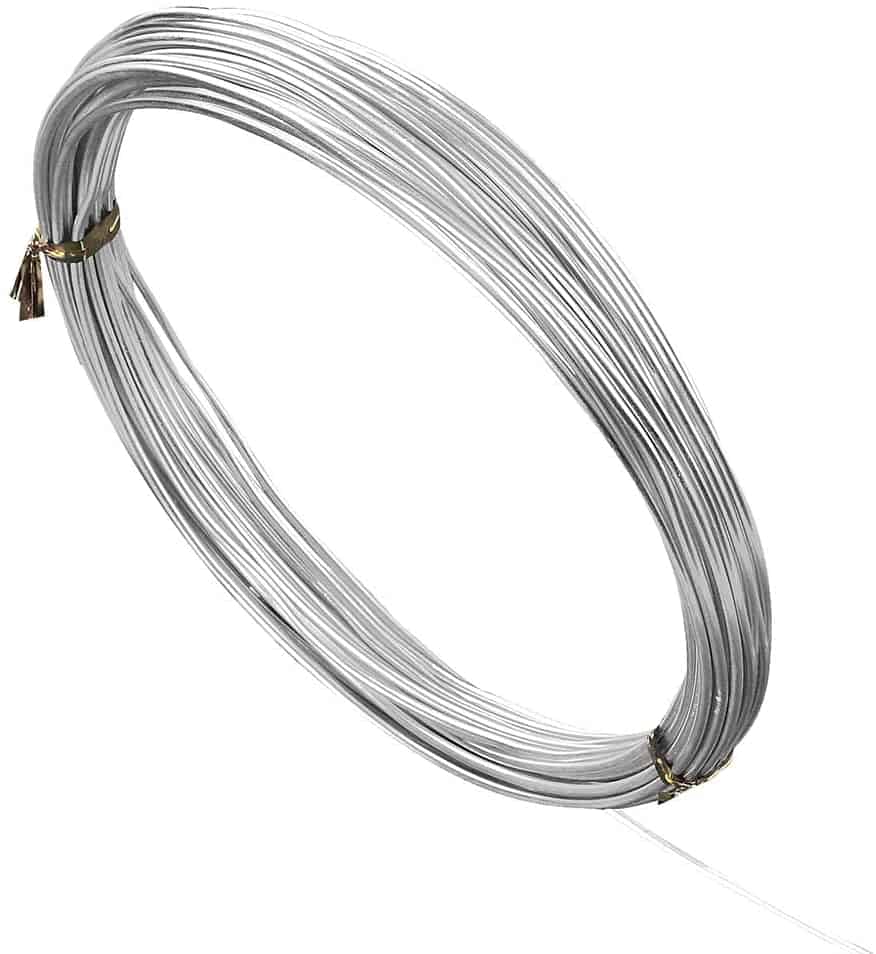 (view more images) |
| Best wire for clay stop motion characters & best copper wire: 16 AWG copper ground wire | 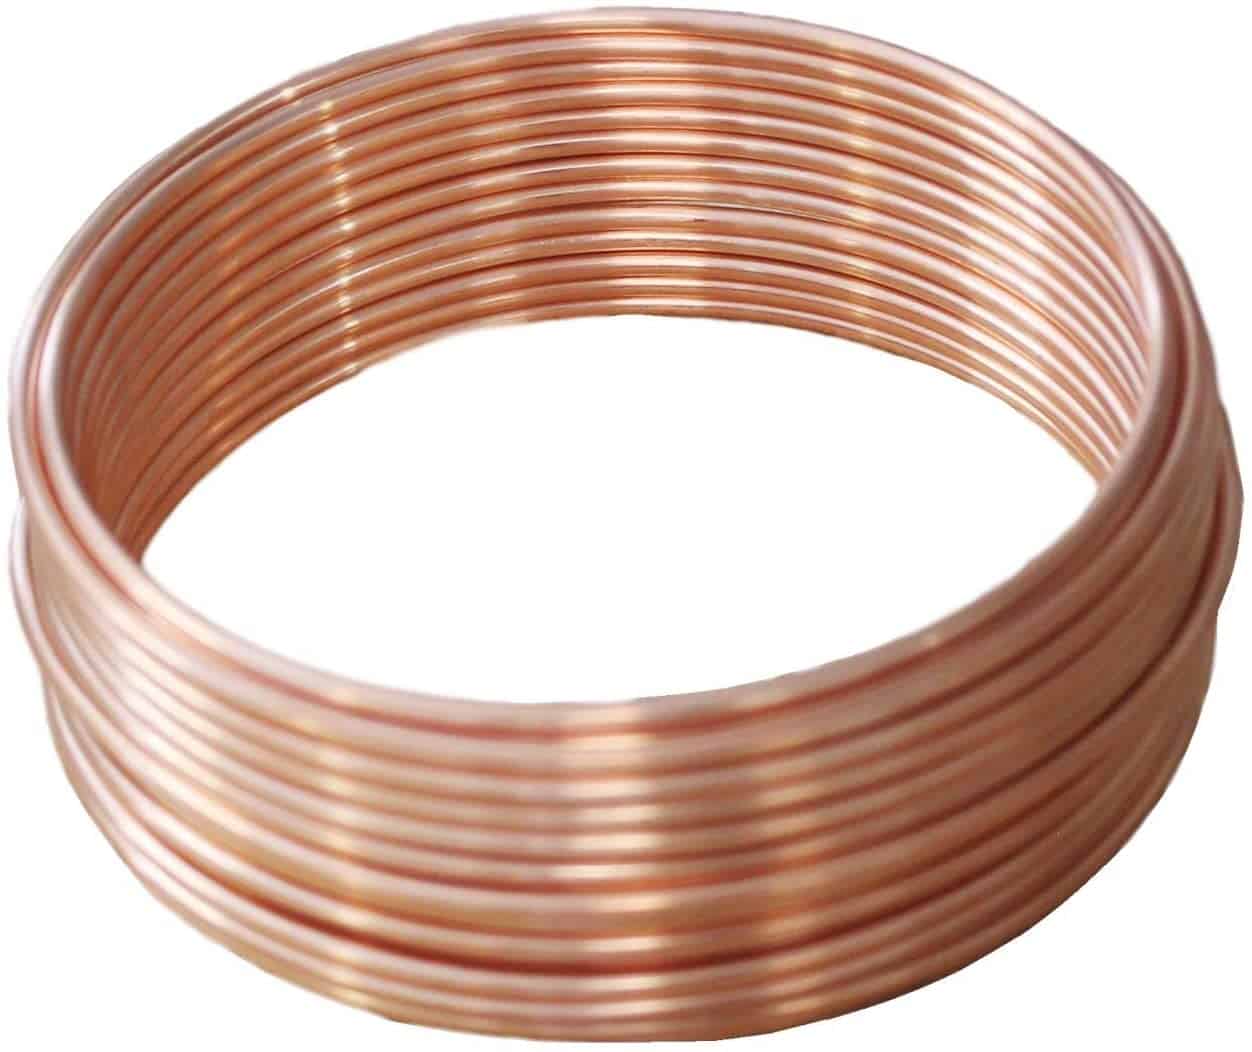 (view more images) |
| Best steel wire & best thin wire for details: 20 Gauge (0.8mm) 304 Stainless Steel Wire | 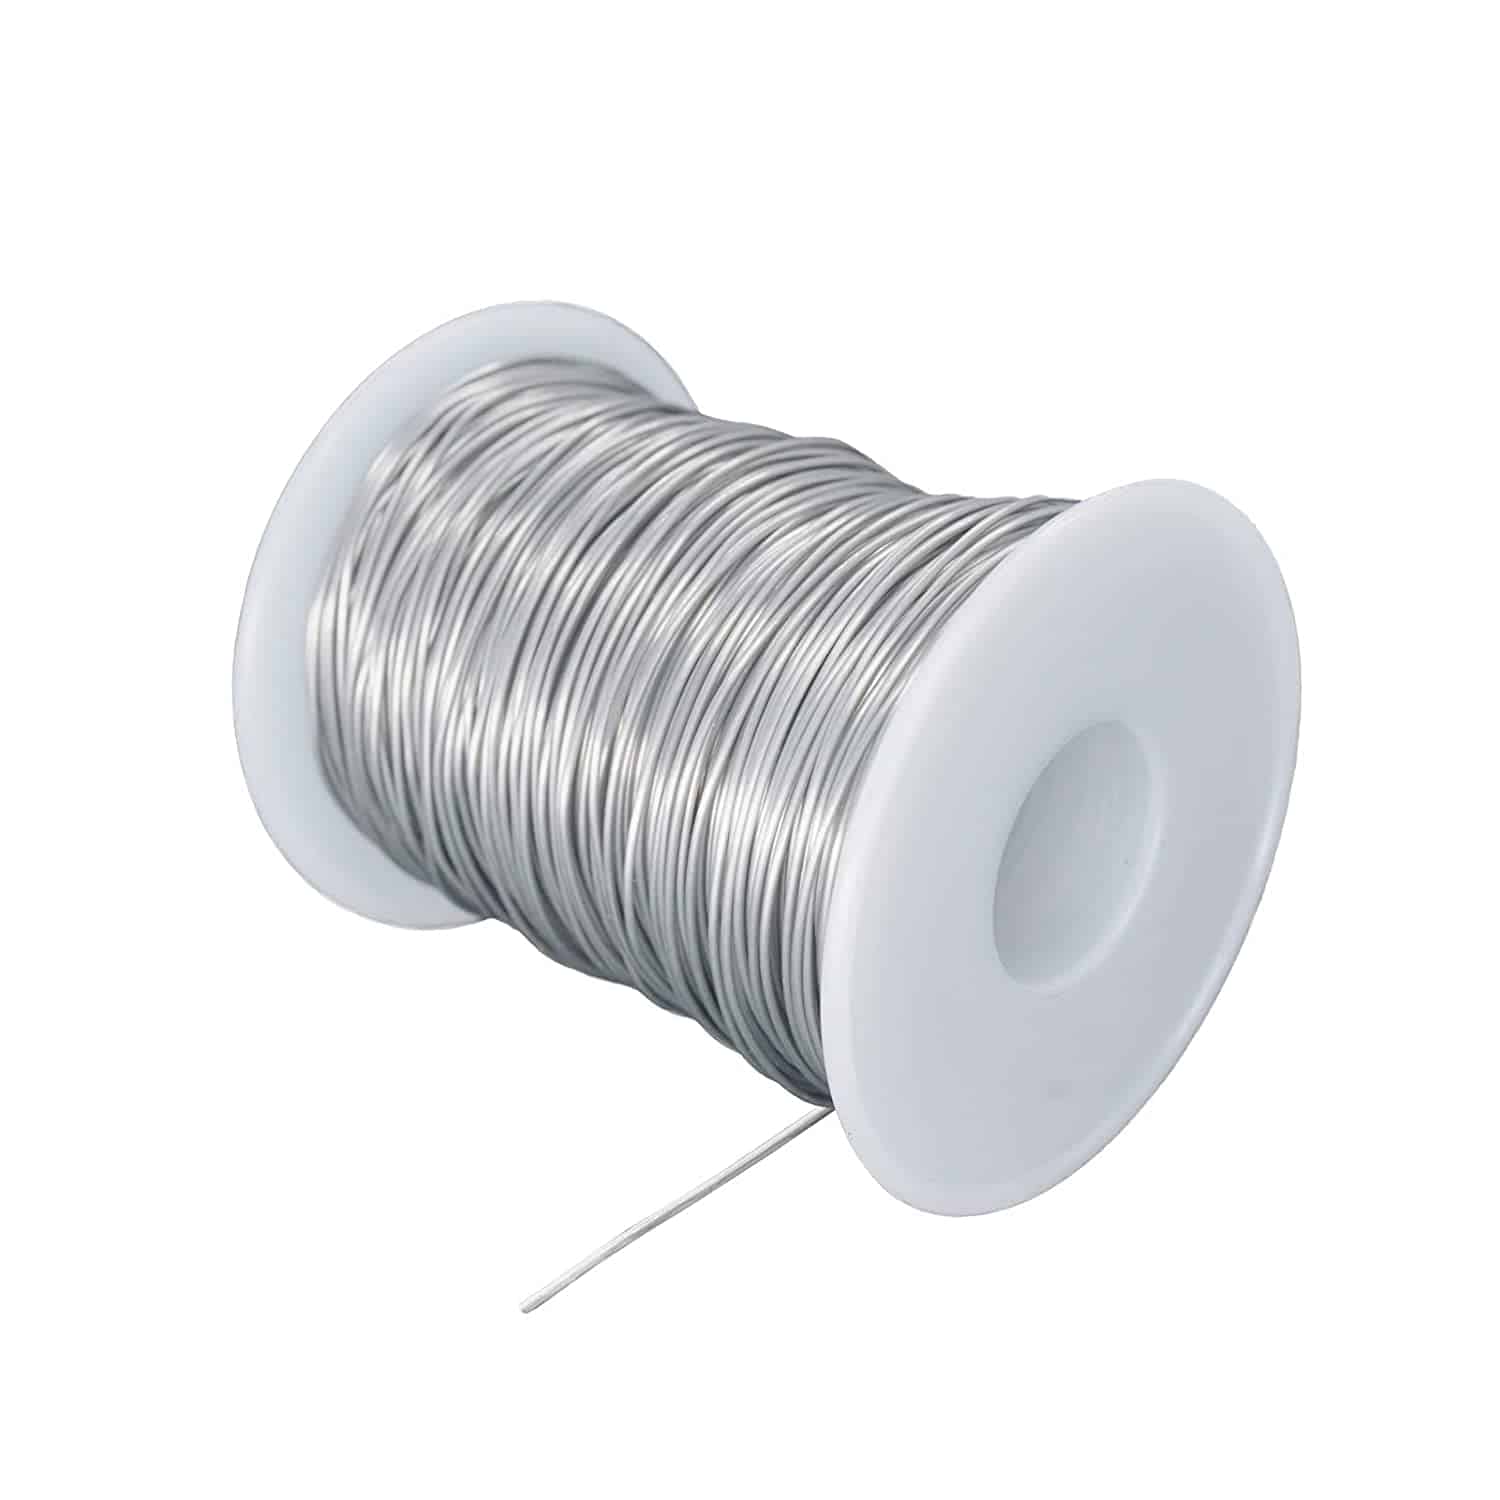 (view more images) |
| Best brass wire for stop motion: Artistic Wire 18 Gauge Tarnish Resistant | 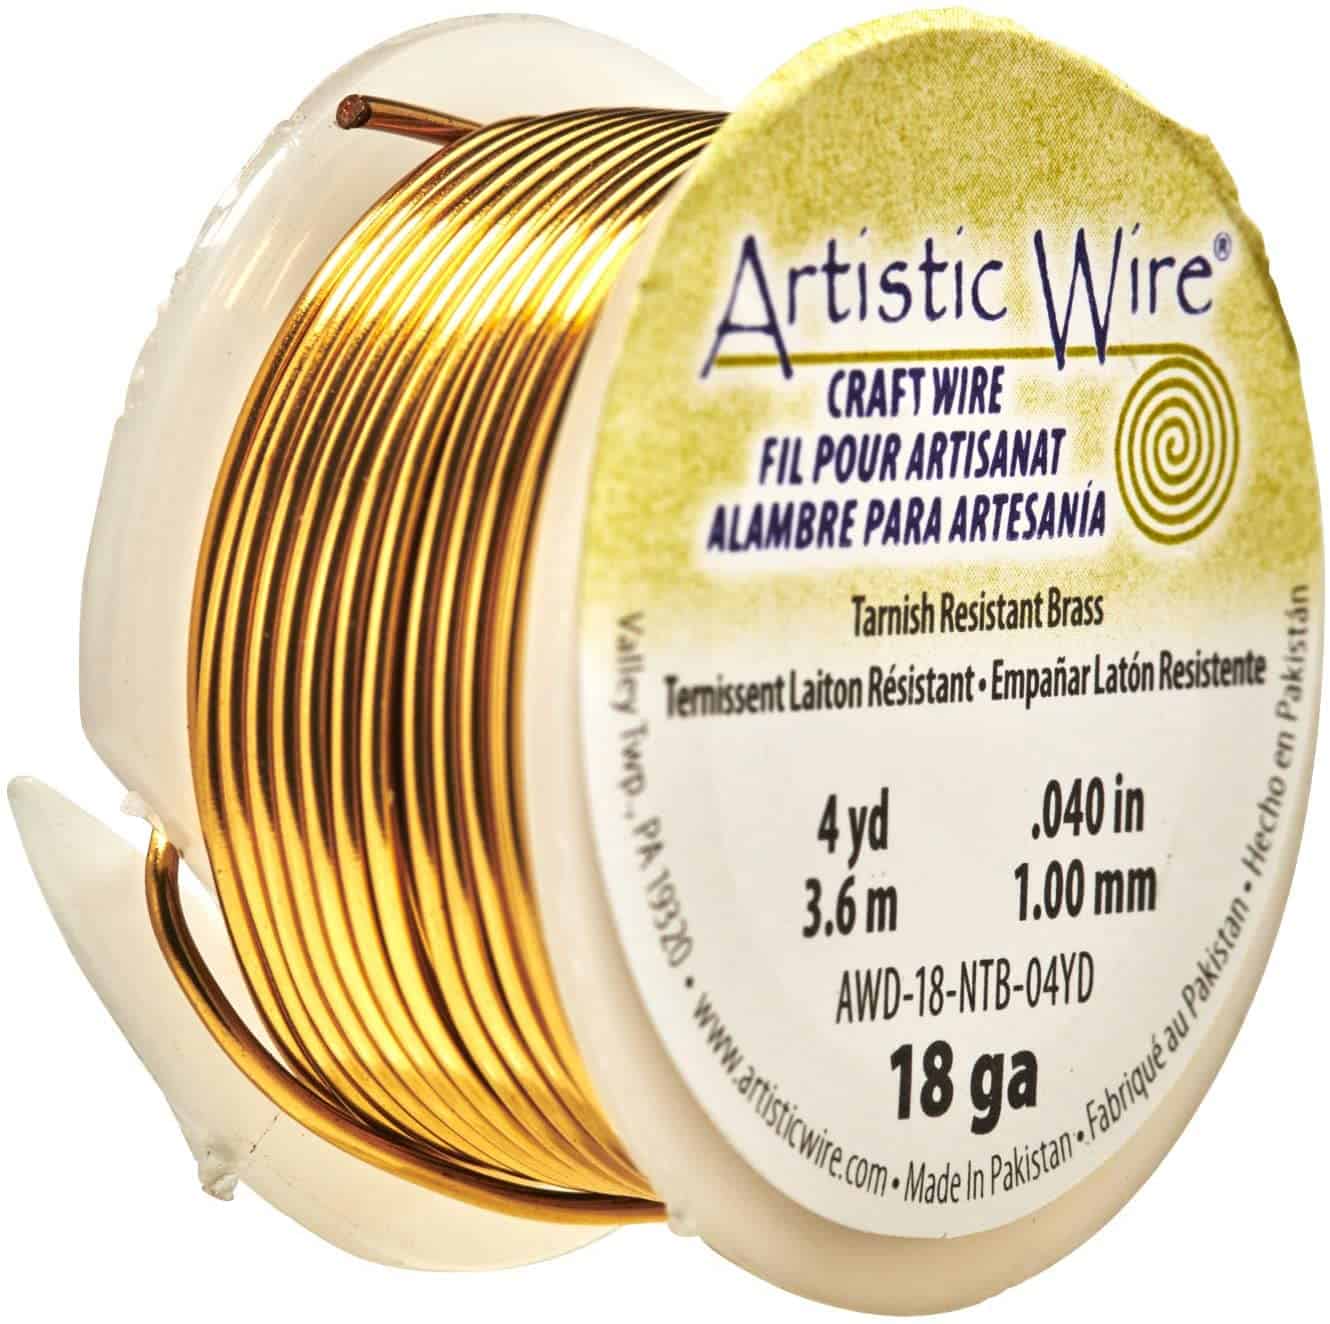 (view more images) |
| Best plastic stop motion armature wire & best for kids: Shintop 328 Feet Garden Plant Twist Tie | 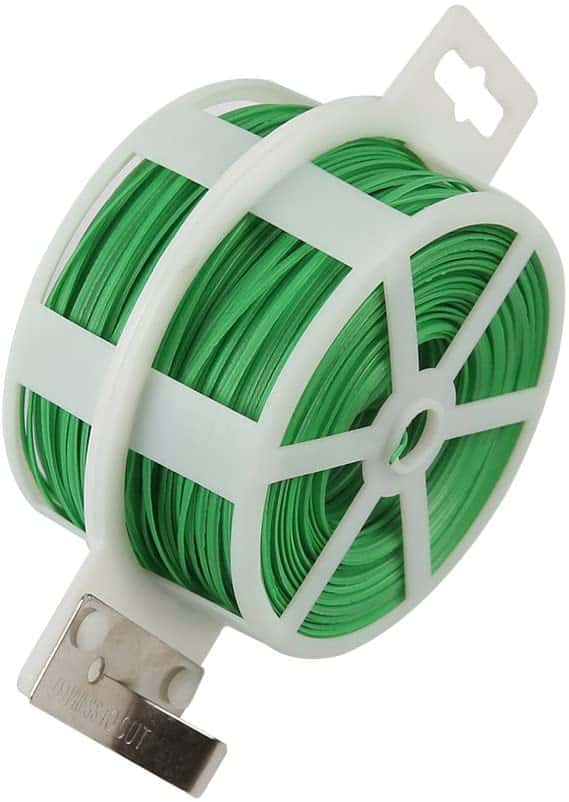 (view more images) |
Not sure about your puppets yet? Read my full guide with key techniques for stop motion character development
In this post we'll cover:
- 1 What wire to use for stop motion armature?
- 2 What is the best wire gauge for armature?
- 3 Best wire for stop motion armature reviews
- 3.1 Best overall & best aluminum wire for stop motion armatures: Jack Richeson Armature Wire
- 3.2 Best thick wire for stop motion armatures: Mandala Crafts Anodized Aluminum Wire
- 3.3 Best cheap wire for stop motion armature: Zelarman Aluminum Craft Wire
- 3.4 Best wire for clay stop motion characters & best copper wire: 16 AWG copper ground wire
- 3.5 Best steel wire & best thin wire for details: 20 Gauge (0.8mm) 304 Stainless Steel Wire
- 3.6 Best brass wire for stop motion: Artistic Wire 18 Gauge Tarnish Resistant
- 3.7 Best plastic stop motion armature wire & best for kids: Shintop 328 Feet Garden Plant Twist Tie
- 4 Tools you need to make stop motion armature
- 5 How to make a wire armature model
- 6 Takeaway
What wire to use for stop motion armature?
Beginners who are just starting out with stop motion animation always ask “What type of wire is used?”
Getting started with your own stop motion storyboards
Subscribe to our newsletter and get your free download with three storyboards. Get started with bringing your stories alive!
We'll only use your email address for our newsletter and respect your privacy
Well, it really depends on the artist but the most common option is aluminum 12 to 16 gauge wire or copper wire. Some people also use cheaper steel or brass wires too, it depends on what’s easier to procure.
I’ll go over the pros and cons of each of these types of armature wire:
Aluminum wire
The best wire to use for stop motion is an aluminum armature wire.
For most stop motion animation creators, it is probably the most common choice in armature wires.
Aluminum is more pliable and lighter than other metal wires and has the same weight and the same thickness.
Despite its rust resistance, it is good to protect against wet clay, which can make the wire rusty and ugly.
To make a stop motion puppet, an aluminum wire coil is the best material because it is highly durable with low memory and holds up well when bent.
A thin gauge wire is mostly used to make the small details like the hair and hands, to hold light objects, or to make the clothing more rigid.
The thicker wire, on the other hand, is used to mold the body parts such as the puppet’s skeleton, arms, and legs, or to make the rig arms which then hold other parts.
Another advantage of aluminum armature wire is that it can be braided and holds its shape.
When joining aluminum cables, epoxy paste or metallic glue can be an ideal alternative.
Insulating materials are stronger and can handle heat change but you rarely need to use insulated wire for a stop motion puppet because it doesn’t help with anything.
Copper wire
The second best wire option is copper. This metal is a better heat conductor so it means that it’s less likely to expand and contract due to temperature changes.
Therefore, your armature will maintain its shape, even if it gets hot or cold in the studio.
Also, copper wire is heavier than aluminum wire. This is ideal if you’re looking to build larger and stronger puppets that don’t topple over and weigh more.
Some of the lightweight aluminum armatures can easily get knocked over while you’re shooting or changing their positions.
You can always use a stop motion rig arm to keep your character in place for the shots.
Copper wires are extremely easy to use. You can also solder them to ensure seamless connections between the wire structure of your pieces.
Compared to aluminum, its electrical conductivity is better and it is less susceptible to expansion or contraction in temperatures.
Copper is a more expensive alternative to aluminum so keep that in mind when shopping.
For the average hobby stop motion animation projects, you can get away with using cheaper wires.
But, still, copper isn’t quite as pliable as the aluminum alternative.
Depending on the project you are looking at this metal’s color offers an attractive visual impact.
In particular, the trees and animal bodies are beautiful with the brown-colored color of copper. Its flexibility, however, makes this an ideal option.
Copper wire is easy to manipulate in virtually any shape, so you can have a sculpture as large as your imagination. It is still very cheap and ideal for sculptures.
Steel wire
Steel armatures are the most resilient wires on this list.
It’s strong and will make an excellent selection for showcasing your work.
More times than not, it will be stainless steel wire that will be sold to you, so it is corrosion resistant and it has lower thermal conductivity compared to aluminum or copper, which could be desirable for baking clay (like ceramic clay).
It will certainly require manipulation tools even if you use fairly standard gauges. Steel wire is very hard to work with because it’s stiff and hard to bend.
Brass armature wire
It is often used in jewelry making but it is also an affordable choice in making armatures and sculptures. You should expect that this is similar in shape to copper armatures, as brass is just a copper/zinc alloy.
The copper will deteriorate quicker and the color will be apparent in your sculpture. Brass is stiffer than copper but still soft enough for bendability.
If you’ve always wanted copper with easier shape malleability, brass will be an excellent choice. With brass, it’s easier to ensure your puppet holds its shape while you’re taking thousands of photos.
Generally, brass wire is slightly cheaper than copper but since it contains zinc, it is still pricier than basic steel wire.
Plastic wire
Plastic is not a traditional armature wire for stop motion but there are no rules that prevent you from using it. In fact, it’s a great material for kids to use.
Many parents are worried about young children using metal wire because they can cut, poke and injure themselves.
A plastic garden tie or other thin plastic wire is ideal for beginners or small kids at the start of their stop motion animation journey.
This is the best type of cheap wire to twist and make into little human or animal puppets.
School children can easily twist this material because it’s the most malleable of all.
And, if they need to make the puppet stronger, they can always twist two or more pieces or double up the strip to make a resistant armature model.
What is the best wire gauge for armature?
If you’re wondering what gauge is armature wire, the answer is that there are many wire sizes or gauges.
The reason we love using wire as the material in the production of sculptures is the flexibility in the design of these sculptures.
Gauge size
The smaller the number (gauge), the thicker the wire and the harder it is to bend it. Gauge refers to the diameter of the wire.
Gauge sizes represent just how thick the wire is. Naturally, this plays a major role in pliability, since thicker wires become less pliable.
It should be noted that gauges are sometimes marked with units not normally used for measurement. The units called wire-gauging (wire gauges) are called AWGs.
It’s a bit confusing because the gauge size isn’t like calculating in inches.
The lower the gauge number, the thicker the wire. So, 14 gauge wire is in fact thicker than 16 gauge.
The best wire gauge for armatures is between 12-16 gauge. This wire falls under the “good pliability” category.
Pliability
This is an important aspect of an armature as it provides the overall stability of a piece.
For larger sculptures and crucial elements including legs and the backbone, less pliable wire is necessary to keep everything stable.
This helps with the strength of a piece of metal if needed.
The downside is that the wire needs to be shaped in your desired way so you will normally need pliers to do the job correctly.
In contrast, the softer or less flexible wire would be preferred for small parts such as the fingers
Wire hardness will be an important consideration when creating your own wire sculpture. Wire hardness indicates the hardness of a wire and influences how easily manipulated the wire is.
Also read what other gear your need to start making stop motion films
Best wire for stop motion armature reviews
Here are the top-rated wires for armature building.
Best overall & best aluminum wire for stop motion armatures: Jack Richeson Armature Wire

- material: aluminum
- thickness: 1/16 inch – 16 gauge
People of all skill levels can use aluminum 16 gauge wire to make armatures. But, not all wire is the same and this one has the perfect bendiness to it.
That’s the secret to the best wire: you have to be able to bend it without snapping it in half.
Jack Richeson is well known as a top brand when it comes to craft wire and armature wire specifically.
Wire for armatures must be both strong and able to be worked into exact shapes. The 16-gauge aluminum armature wire from Jack Richeson is a delight to work with.
It is non-corrosive and works well as a core for clay, paper, and plaster sculptures.
It can also be baked in a kiln. This wire is lightweight, so it won’t add too much weight to your sculpture.
It won’t snap or break at sharp bends because of its flexibility, so you may double it up for added strength without worry.
For the price, a 350-foot spool of silver-colored wire is included.
Some other brands, as you’ll see soon offer their aluminum wire in multiple colors but this one comes in the classic metallic silver but I don’t think that will put people off.
After all, you’ll wrap the metal in foam, clay, or clothing anyway.
Best thick wire for stop motion armatures: Mandala Crafts Anodized Aluminum Wire
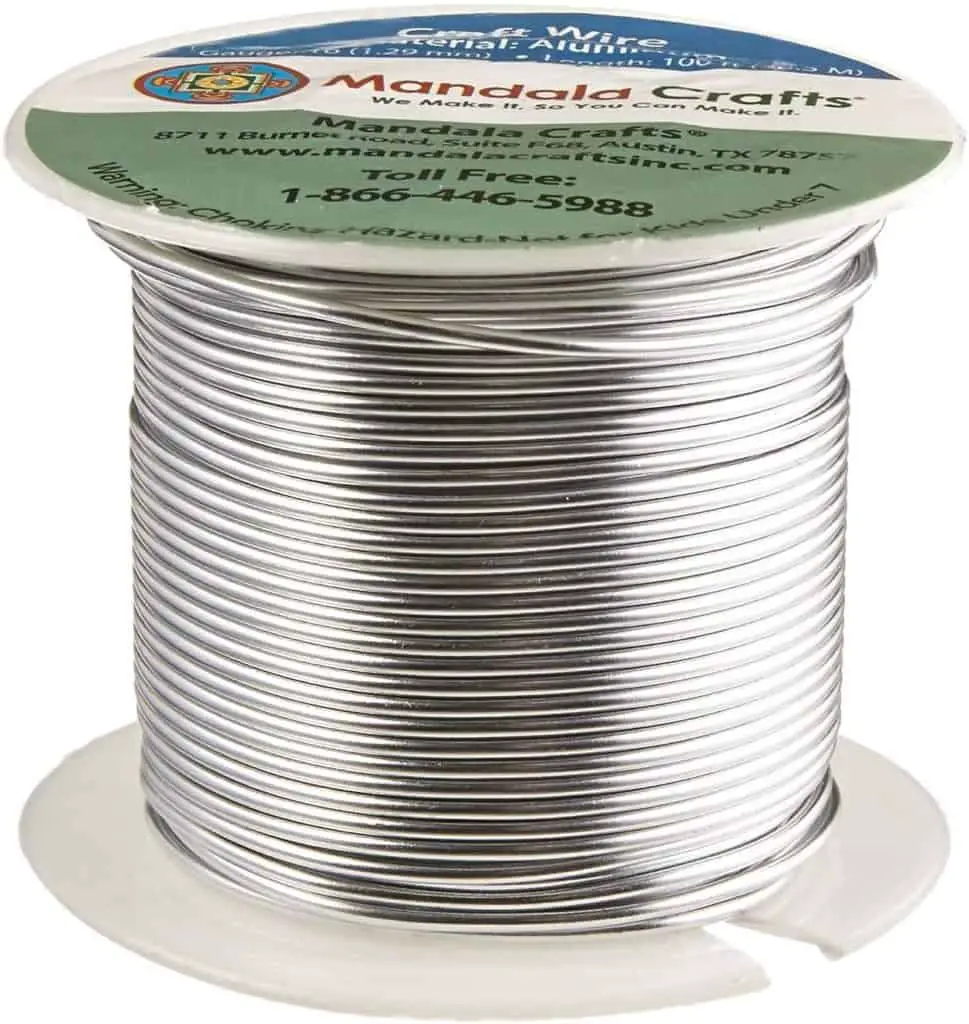
- material: aluminum
- thickness: 12 gauge
Mandala Crafts’ 12 gauge wire is available in numerous jaw-droppingly beautiful colors and is robust. It is specially crafted with armature making in mind so while it’s thick, it’s still malleable.
This is important because the last thing you want it your skeleton to keep bending in the wrong spot.
The wire has a protective oxide coating created via electrochemistry.
It doesn’t rust, corrode, and there’s no tarnish to it.
The only problem is that some people are complaining the colorful paint kind of rubs off in time but it shouldn’t be a problem for armatures since it’s not jewelry.
Colors are integrated into an oiled wire that’s really hard to rip off and anodizing provides a further boost to the strength of the wire.
The wire is available in spool sizes ranging from 10 feet to 22 inches and is flexible with hand-holding tools and pliers.
The shiny color and versatility make it ideal to use as a wire sculpture, jewelry weave, or weaponry.
But, the 12 gauge thickness makes this a perfect option for a solid and durable armature that won’t break and bend.
This product made the list because it bends so smoothly and twists easily with pliers.
Best cheap wire for stop motion armature: Zelarman Aluminum Craft Wire

- material: aluminum
- thickness: 16 gauge
If the kids are learning to make an armature for their own stop motion animation, you don’t need to spend too much money on a fancy wire.
Basic 16 gauge aluminum wire is great and Zelarman is a good budget-friendly crafting wire.
Artists looking for a lightweight but highly durable sculptural cable should consider Zelarmans Wire.
The aluminum wire measures 1.5 millimeters and has an adsorbent strength of 3 mils.
You can easily bend and manipulate this wire using a hand tool for a precise form that retains its shape.
It’s quite strong it doesn’t snap when bending but compared to Jack Richeson and Mandala Crafts, it seems to lose shape a bit faster.
The wire also acts very well in clay and wire sculpture. The product is available for purchase at 32.8 feet and is available in black and silver. Extra color options can be purchased from 1.25 meters.
This wire is better than baling wire for your armature creations and most people give it a thumbs up.
If you want other cheap aluminum wire options, I also recommend the Bendable Metal Craft Wire but the reason why Zelarman is better is that it’s easier to work with. It holds its shape and doesn’t break as easily.
Best wire for clay stop motion characters & best copper wire: 16 AWG copper ground wire
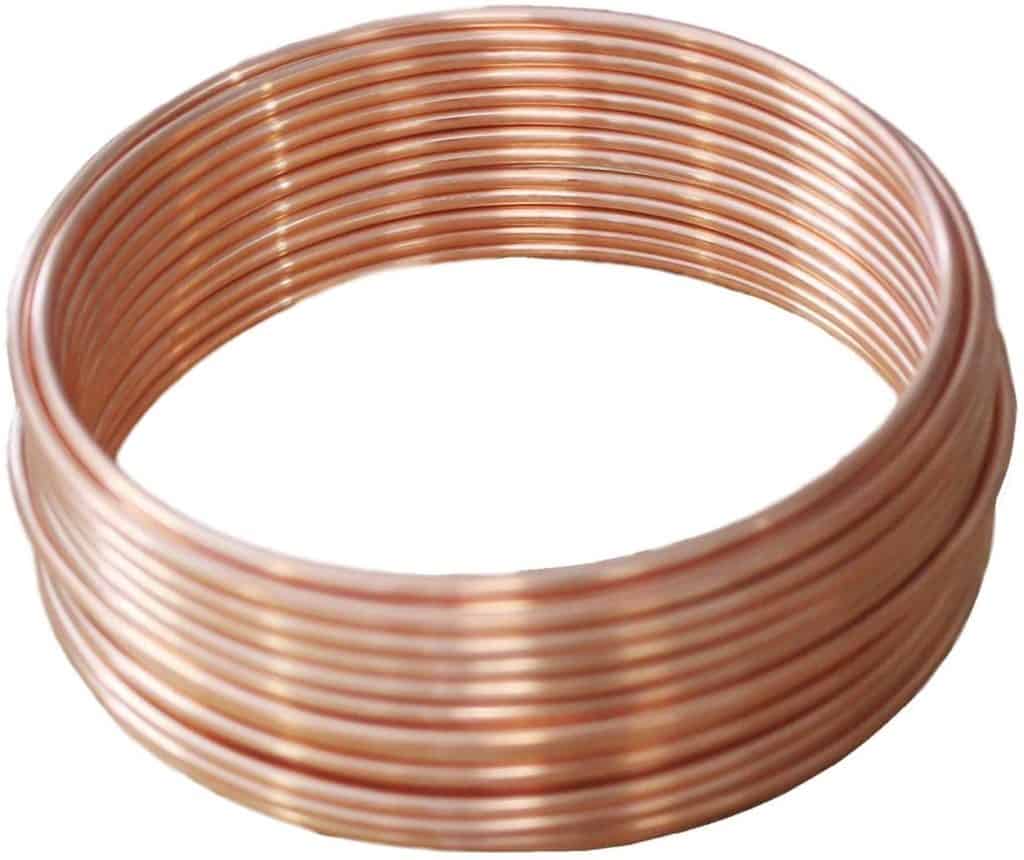
- material: copper
- thickness: 16 gauge
When using polymer clay to make your puppets, you need to strengthen and secure some parts of the clay doll. For this task, always use uninsulated wire.
Copper is not as malleable and flexible as aluminum wire so you might have a harder time shaping it.
I recommend this copper wire for adult use – it’s a bit harder to work with and more expensive.
But, luckily, this particular wire is dead soft, which means it’s the most pliable. Some other copper wires are super hard to work with and jewelers know this!
The copper ground wire is an excellent choice – I like the 16 AWG but 12 or 14 gauge wire is good too if you have smaller clay puppets.
If you want to make the armature stronger and stiff, twist multiple strands together. In the thinner body parts like fingers, just use one wire or a thinner copper.
When working with wire and clay, the problem is that the clay doesn’t adhere to the wire properly.
Here’s a quick fix for this issue: wrap your wire in scrunched-up pieces of aluminum foil or coat the wire with some white Elmer’s glue.
Copper tends to oxidize and go green so cover the metallic skeleton with clay, foam, or clothing.
Best steel wire & best thin wire for details: 20 Gauge (0.8mm) 304 Stainless Steel Wire
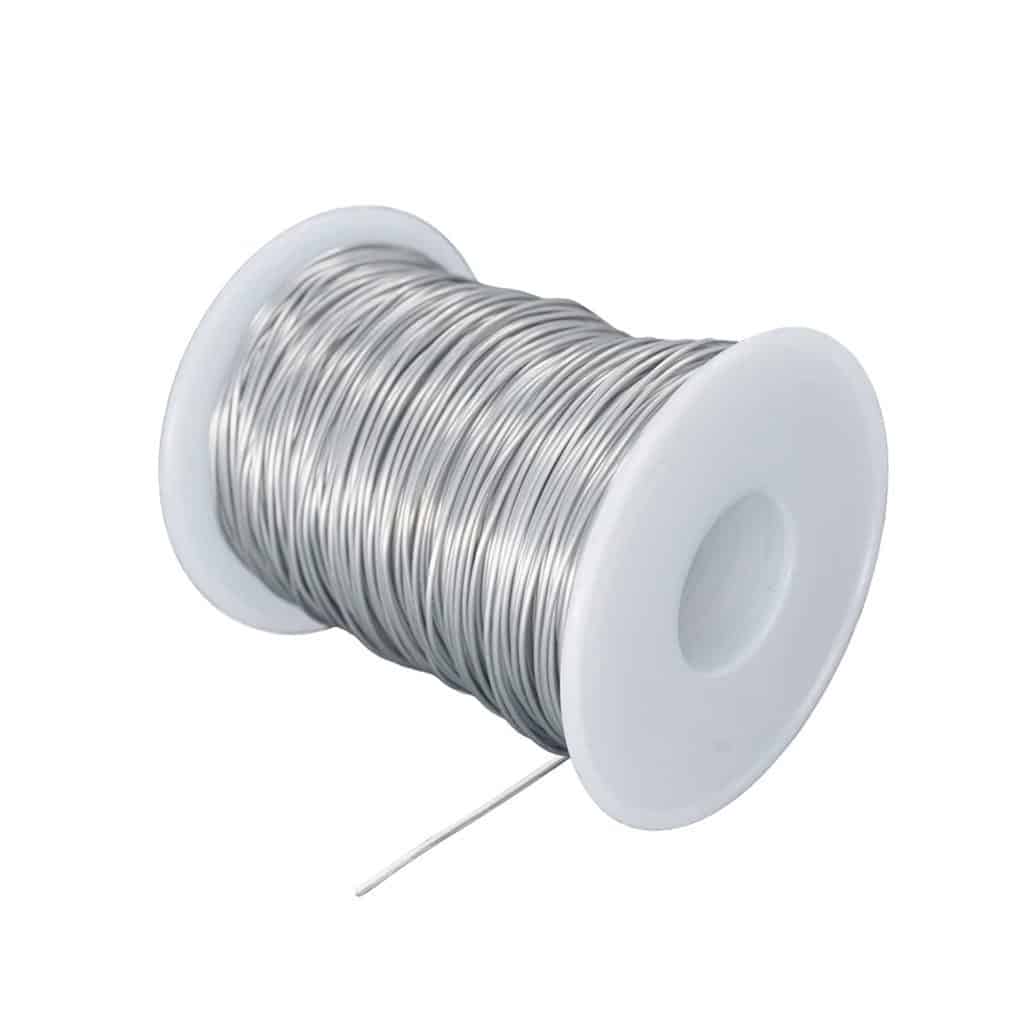
- material: stainless steel
- thickness: 20 gauge
This stainless steel wire is known as artistic or sculpting wire and it’s an excellent choice for armatures too.
The 20 gauge is a very thin wire that’s best used for making small armatures or the small body parts and details such as fingers, noses, tails, etc.
You can even combine the steel with aluminum for resistant wire sculptures.
Most people prefer to use aluminum wire because it’s much more bendable than steel but since this is thin steel, it is still usable.
Steel is also more prone to cracking and breaking if you try to bend it.
Some customers are saying the wire is quite hard to bend and loses its shape faster than aluminum and copper. For that reason, use this for the small details and limbs.
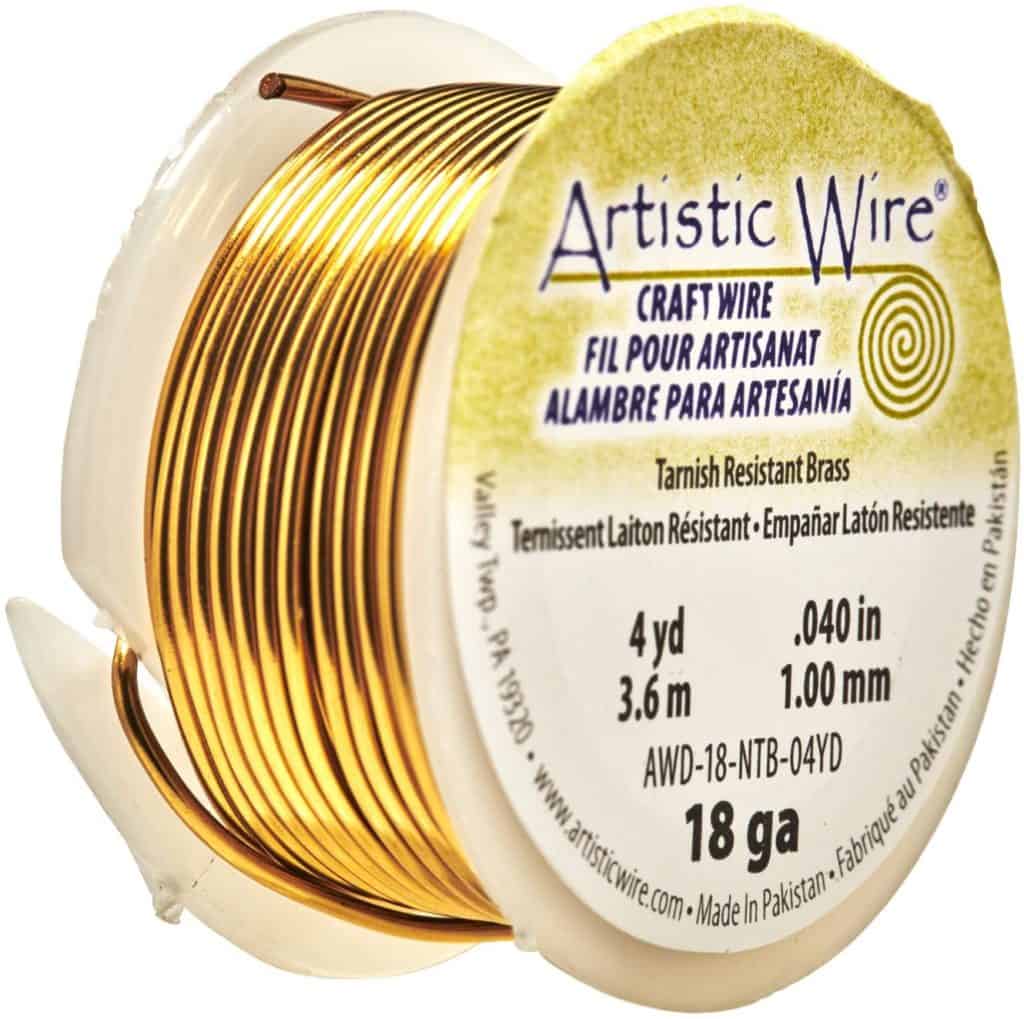
Best brass wire for stop motion: Artistic Wire 18 Gauge Tarnish Resistant
- material: brass
- thickness: 18 gauge
Brass craft wire isn’t very popular for making armature because a small spool is more expensive than getting aluminum.
But, it is a pretty good alloy and quite malleable and shapeable.
This Artistic Wire brass is a soft temper and this means the alloy is easy to bend. So, you can set up your puppet in whatever positions you need to for your movie.
The brass is rust and stain-resistant because it’s coated with a clear varnish. Therefore, you can even use it to make jewelry once you’re done with the stop motion videos.
Just a heads up, this wire is thin so you need to use a lot of it and it might not be the best choice cost-wise.
But, if you like the look of this golden metal, your armature will end up looking beautiful!
Best plastic stop motion armature wire & best for kids: Shintop 328 Feet Garden Plant Twist Tie

- material: plastic
- thickness: comparable to 14 to 12 gauge wire
Some parents prefer their kids to work with plastic armature wire because it’s safer to use.
Plastic garden twist tie is a good option because it’s malleable, thin, and easy to shape, even for smaller children.
You can find plastic for your wire sculptures at the hardware store and a craft store but this Amazon product is cheap and efficient.
Just a heads up, this material is nowhere near as sturdy as aluminum and copper wire.
But, you can easily twist up multiple threads to make the puppet stand. It’s mostly only suitable for small armatures and kids’ animation projects.
If the sturdy armature is what you want, you should choose wires made of metals.
But, for safety purposes, you can teach kids using this garden plant twist tie.
Tools you need to make stop motion armature
Now that you’re wondering what tools and supplies you need, I’ve created a list of the must-have items in the stop motion toolkit.
Wire nipper
You can use regular pliers but wire nippers will make the cutting work much easier.
You can get cheap wire nippers on Amazon – there are all kinds of nippers out there depending on size and what materials you cut.
Set of pliers
You can also get pliers instead of wire nippers if you want. Pliers are used for cutting aluminum, copper, steel, or brass wire.
You also use the pliers to twist, bend, tighten and adjust the wire to give the puppet its shape.
You can use small jewelry pliers because these are smaller and well-suited for delicate wire bending.
If you’re handy with pliers, you can use any kind that you have at home.
Pen, paper, marking pen
The first step in creating your armature is the design process. It helps if you draw your armature to scale on paper first.
You can then use the drawing as your model for the size of pieces.
When working with the metal, you can also use a metal marking pen to guide you.
Digital caliper or ruler
If you’re making basic armatures with the kids, you can get away with using a simple ruler.
But, for more complex projects, I recommend a digital caliper.
This is a precision instrument that lets you take accurate measurements because the digital display shows what you’re measuring.
The digital caliper ensures you don’t make measuring mistakes. Also, it helps measure the lengths of limbs and ball and socket sizes.
Epoxy putty
You also need epoxy putty which helps hold the limbs together. It feels like clay but dries rock solid and keeps the armature intact even during movement and photographing.
Tie-down parts
You need some small parts to bolt down the puppet to the table. You can use t-nuts in sizes varying between 6-32.
Stainless steel t-nuts (6-32) are available on Amazon. You can also use other sizes but it depends on the size of your puppet. 10-24s are another of the popular sizes.
Wood (optional)
For the head, you can use wooden balls or other types of materials. I prefer wooden balls because they’re easier to fasten to the wire.
How to make a wire armature model
Is it easy? Well, not really but if you use a wire that’s simple to blend, your work won’t be so hard.
It also depends on how complex your armature needs to be. Some body positions are much harder to make than others.
I’m sharing how to make a basic armature and you can use any of the wires on the list for this task.
Step one: draw the model
First, you need to get out the pen and paper and draw the model for your metal armature. The “body” must be drawn symmetrically on both sides.
Make sure to add and draw appendages. Use the ruler or caliper to ensure the arms are of the same length.
Step two: shape the wire
It doesn’t matter which wire you use, but it’s now time to make the shape of the armature on top of your drawing.
If you’re using thinner aluminum or steel wire, it will be a bit easier.
Bend the wire with the pliers or nipper.
You need to calculate where the elbows and knees go because these need to be moveable.
The armature needs the long wire in the middle that acts as the spine.
But, the easy way is to unwind the wire on top of the paper and start with the feet.
Next, do the legs all the way up and continue with the torso, including the collarbone. This is your metallic skeleton and needs to be shaped first.
You can use the twisting method and twist the wire all the way up in the torso.
Also, when you connect the wire body parts, you just have to twist the wire.
Then, you need to make a second copy of this exact shape from the wire. You need to have about 4-6 pieces of wire per leg so the wire is strong enough to “stand” without toppling over.
Finally, you can then attach the shoulders and arms. Double-up the wire for arms because thin arms tend to break very easily.
If you want to bolt down the puppet to a table or board, you must add tie-downs into the feet. But if not, skip the tie-downs.
Fingers are made of small pieces of twisted wire and combined with the wire that acts as the hand or foot. Use epoxy to make sure the fingers stay on there tight.
The head goes on last and if it’s a ball with a hole in it, put it over the wire spine and neck and then use epoxy putty inside the hole to “glue” it on.
After that, use the epoxy putty around the areas where the wires are twisted together to fasten them. Leave the knees and elbows putty-free so you can bend those areas.
Here’s a basic instructional video you can watch:
Tip for bending the wire
Making wire sculptures is not nearly as easy as it seems and the first step is learning how to bend the wire.
No wires have any magic ability to bend shape and hold their position steady. If wires are bent faster than normal or if you over-bend, you can end up breaking and weakening the frame.
Also, poorly bent wire may flex under heavy clay.
If you want sculptures that can handle varying weights, you must make a heavier piece of wire that can support and deform, or you can reinforce them by pulling the string into a single direction.
When wire bending becomes harder, you need to work carefully.
This work is no different from metalwork because working wire makes bending harder and the metal can be brittle. Those wires may break when the material is twisted too much.
Takeaway
The fun part of making your own stop motion movie is that you can create all kinds of armature models and puppets.
Surely the process is challenging sometimes but everyone can do it so don’t worry if you don’t consider yourself a crafty or artistic person.
With some basic aluminum wire like the Jack Richeson Armature Wire, you can blend and shape your materials into unique puppets.
Just add foam or clay and watch your characters come to life in your animation.
Did you know there are different types of stop motion? I explain the 7 most common types here
Hi, I'm Kim, a mom and a stop-motion enthusiast with a background in media creation and web development. I've got a huge passion for drawing and animation, and now I'm diving headfirst into the stop-motion world. With my blog, I'm sharing my learnings with you guys.
