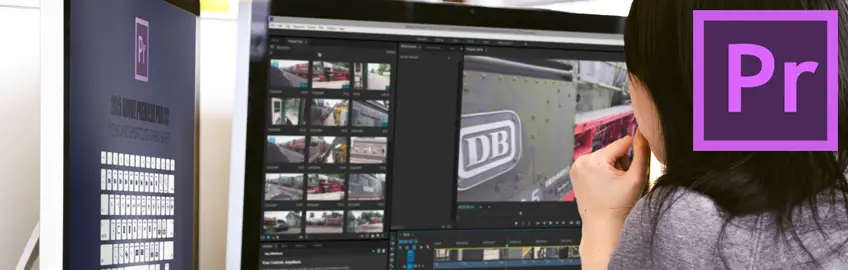
Work faster with these 23 Premiere Pro CC shortcuts & tips

When editing video in Premiere Pro, you can save a lot of time using keyboard shortcuts, and you will be less likely to suffer from a mouse arm.
It is understandable that you do not want to memorize all possible shortcuts, if you start with this list you will save one or more seconds over and over again, and over time you will notice that the assembly process becomes faster and smoother. and becomes more fun.
Adobe has put a lot of effort into hiding a number of shortcuts, from now on you know where to find them too!
In this post we'll cover:
- 1 Best Premiere Pro CC Shortcuts
- 1.1 Zoom In / Zoom Out
- 1.2 Add Edit
- 1.3 Go to Next / Prev Edit Point
- 1.4 Select Clip at Playhead
- 1.5 Deselect All
- 1.6 Hand tool
- 1.7 Swapping Clips
- 1.8 Trim Mode
- 1.9 Trim next / previous Edit to Playhead
- 1.10 Ripple Trim Previous / Next Edit to Playhead
- 1.11 Extend Edit
- 1.12 Nudge Clip
- 1.13 Slide clip selection from left to right (Slide Clip)
- 1.14 Slip clip selection left or right (Slip Clip)
- 2 Top 5 Useful Tips for Adobe Premiere CC
- 3 Organize Better in Adobe Premiere Pro with These 4 Tips
- 4 Conclusion
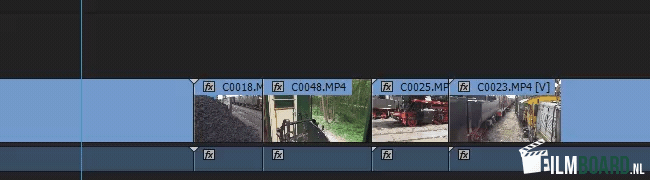
Best Premiere Pro CC Shortcuts
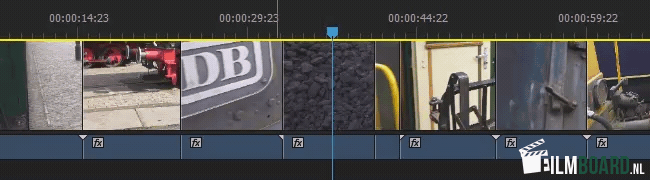
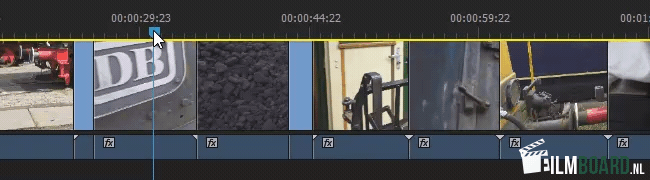
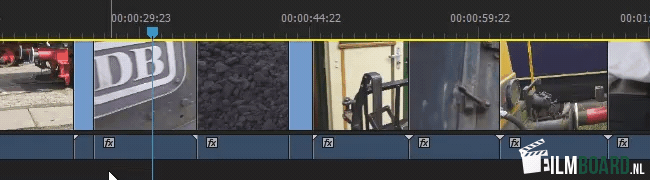
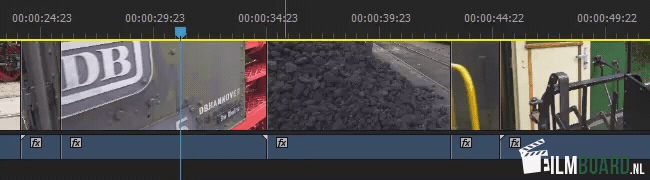
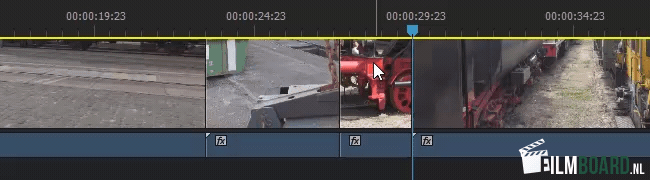
Zoom In / Zoom Out
Win/Mac: = (zoom in) – (zoom out)
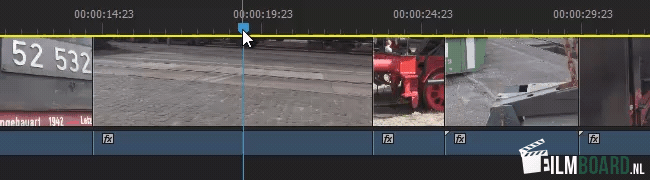
If you want to quickly find a part in the montage, it is useful to first zoom out, place the playhead approximately in the right place and quickly zoom in again. This is much better and faster with the keyboard than with the mouse.
Add Edit
Win: Ctrl + K Mac: Command + K
It is noteworthy that there are editors who click on the razor blade. This is a function that you must immediately place on a key, razors are for your (beard) hair, in Premiere Pro you use a key of course!
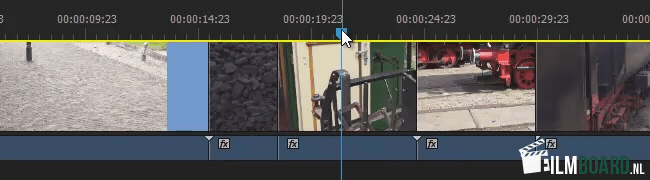
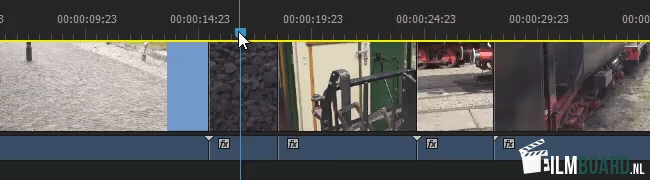
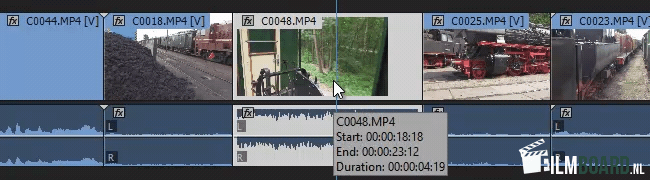
Go to Next / Prev Edit Point
Win/Mac: Up / Down (arrow keys)
You can go to the next or previous edit point in most editors with the keyboard. That’s handy, but in Premiere Pro you can also look up those points on the active layer with a shortcut.
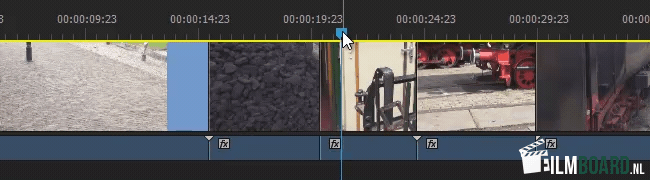
Select Clip at Playhead
Win/Mac: D
Getting started with your own stop motion storyboards
Subscribe to our newsletter and get your free download with three storyboards. Get started with bringing your stories alive!
We'll only use your email address for our newsletter and respect your privacy
There are several ways to select clips by going to the in or out point, or by clicking on the clip with the mouse. With this shortcut you directly choose the clip that is under the playhead.
Deselect All
Win: Ctrl + Shift + A Mac: Shift + Command + A
That in itself is not a complicated operation, clicking outside the timeline, but you do have to slide with the mouse. With this shortcut you can immediately undo the entire selection.
Hand tool
Win/Mac: H
Not exactly a shortcut, but handy if you want to quickly search for a moment in the timeline. Slide up the timeline a bit without moving the playhead. This can be very useful, especially in combination with the zoom button (HANDIG…sorry…).
Swapping Clips
Win: Ctrl + Alt Mac: Option + Command
If you want to drag a clip on the timeline without creating a gap on the timeline, use this key combination while dragging the mouse to swap the two clips.
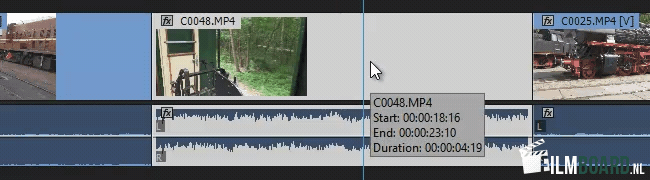
Trim Mode
Win: T Mac: T
If you choose the mounting point of a clip, you can use these shortcuts to shorten or lengthen the clip using the keyboard. You can opt for precise trimming or for a broader way of trimming.
Trim next / previous Edit to Playhead
Win: Ctrl + Alt + W (next) – Ctrl + Alt + Q (previous) Mac: Option + W (next) – Option + Q (previous)
If you don’t want to influence the entire timeline, you can easily trim a part of the beginning or end of a clip with this shortcut. The clips around it then stay neatly in place.
Ripple Trim Previous / Next Edit to Playhead
Win/Mac: W (next) – Q (previous)
Another way to quickly cut a bit from the beginning or end of the clip, but this time the rest of the timeline slides along so you don’t get any gaps.
Extend Edit
Win/Mac: Shift + W (next) – Shift + Q (previous)
If you want to make the clip a bit longer at the beginning or the end, you don’t have to pull the ends with the mouse. Position the playhead where you want to set the beginning or end and press the appropriate shortcut.
Nudge Clip
Win: Alt + Left/Right/Up/Down (arrow) Mac: Command + Left/Right/Up/Down (arrow)
With this shortcut you grab the clip selection and you can then move it horizontally and vertically. Note that the clip will overwrite the underlying content! The audio track goes along so sometimes it is more convenient to “unlink” first.
Slide clip selection from left to right (Slide Clip)
Win: Alt + , or . Mac: Option + , or .
This allows you to move the clip selection from left to right and the surrounding clips will automatically adjust.
Slip clip selection left or right (Slip Clip)
Win: Ctrl + Alt + Left/Right Mac: Option + Command + Left/Right
This keeps the total length of the clip, but you choose a different moment in the clip. You can adjust the time lapse to earlier or later in the clip without affecting the timeline.
Top 5 Useful Tips for Adobe Premiere CC
Adobe Premiere has been one of the most popular video editing software packages for many years. The program already has many features that can be used as standard to make it faster, better and more effective.
In addition, it is possible to use various plug-ins that increase the functionality even further.
The plethora of options can be overwhelming, these five tips will help you get the most out of Adobe Premiere, making your montages even better.
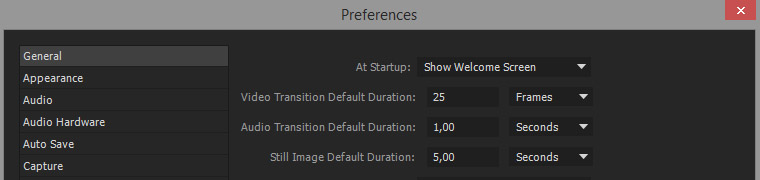
Adjust the default settings in Premiere
By adjusting some default project settings you can get started faster. Scaling material to the project settings, and setting the default length of still images certainly saves time.
To do this, go to Edit – Preferences – General and search for Scale Media to Project Size and Default Picture Length.
If you use many different sources such as SD and HD media together, you will save a lot of time by enabling Scale Media to Project Size.
By default, an image, for example a photo, is at 150 frames, or 5 seconds in the timeline. If this is not your preference, you can adjust it at Default Picture Length.
A quick preview
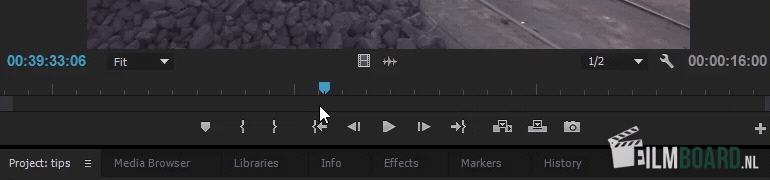
You can already see most effects, transitions and titles in the timeline, but complex effects don’t always play smoothly.
By pressing “Enter” the effects are calculated after which you can view them smoothly in the monitor window. Then you quickly get a good picture of your production.
Organize your project with “Bins”
In your project window you can see all the media of the project. It is not convenient to see all individual video clips, photos and audio clips in one long list.
By creating folders, or “Bins” you can make a good subdivision. For example, by media type, or individual scenes in your film. This way you will never lose the overview again.
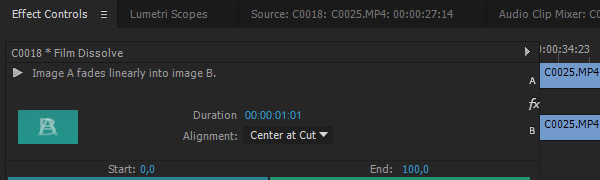
Create your own image transitions
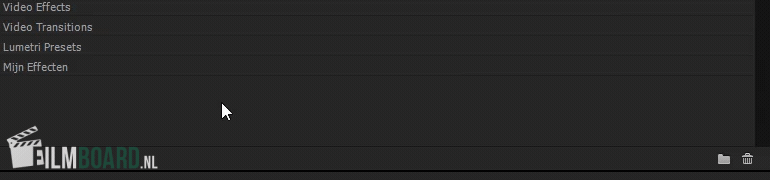
You can choose from many image transitions to give your film a little more appearance. You can find the transitions in the “Effects” tab.
It is possible to adjust the default settings of transitions via the tab “Effect Controls”. Think of the length of the transition, the way in which the transition is visualized, etc.
And as a bonus tip: don’t use too many transitions!
Choose the right size
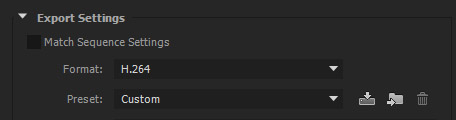
When you make videos for Youtube it is not always necessary to export your video in the highest quality. The best quality is not always necessary, especially when uploading to a website.
Then make a lower quality version, for example 720p instead of 4K video, and with mp4 compression instead of studio quality, Apple ProRes or uncompressed.
This makes uploading a lot faster. Keep a high quality version as a backup, you can always make a lower quality version.
The above tips can make your workflow more effective. Ultimately, you want to be busy telling your story, not the technical aspects.
If you are a novice in the field of editing, you can also consider purchasing Premiere Elements, which offers most of the standard features at a competitive price.
This also makes it easier to switch later, because the general procedure is the same.
Organize Better in Adobe Premiere Pro with These 4 Tips
Video editors are creative minds, we are not known for our great organizational skills.
Unfortunately, in a video production you have to put together tens, hundreds or even thousands of clips, fragments, pictures and sounds like a puzzle.
Save yourself the hassle and follow these four tips to better organize and keep your Premiere Pro projects tidy.
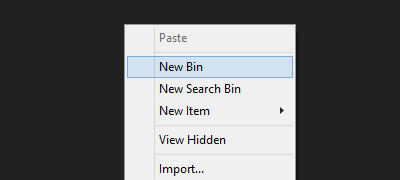
The Effects Bin
You know that you can create folders in the project folder. But did you know that you can also create “Bins” for effects? Right click in your effects panel and choose “New custom bin” or click on the folder icon at the bottom right.
Drag your effects in there so that you can quickly find them later. Simple but very effective for organizing your effects.
Use Subclips
Sometimes you have longer shots that contain several usable shots. When you’re shooting B-roll you have a lot of material to choose from.
By creating a Subclip you can split this clip into multiple virtual clips that you can quickly find and use in your project.
First choose the long clip, put an IN and OUT marker and then choose Clip – Make Subclip or use the key combination Command+U (Mac OS) or Control+U (Windows).
Then this fragment will appear as a new clip in your project window. You can also rename these Subclips by selecting the clip and pressing Enter.
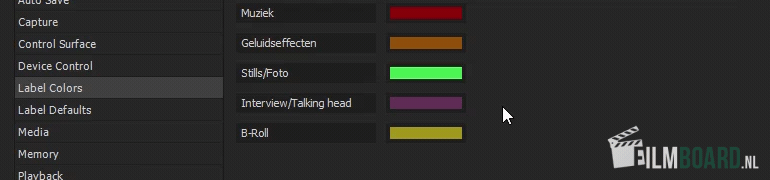
Create Color Labels
By giving media a color label you can find them quickly. At Premiere Pro – Preferences – Label Defaults you will find the standard settings for, for example, audio, video and photo.
But you can go one step further. Go to Premiere Pro – Preferences – Color Labels and create your own labels. Think of Interview (Talking head), B-Roll, Inserts, Sound effects, Music, Photo (Stills) etc.
Then you go to the material in the project, you right click and choose the type. This way you can quickly find the desired material.
Remove unused material
When your part in the editing is done, “Remove Unused” lets you remove all material not in the timeline in one operation.
If someone else does it later, that person doesn’t have to struggle through a swamp of unused clips. It is also useful for yourself to know which material is no longer needed.
Pay close attention before performing this operation, although the files will not be erased from your disk, it can be quite a challenge to find one clip if the editing was not finished.
It is best to save your project under a new name before using “Remove Unused”.
Of course you want to get started and edit your images right away. But a little organization in advance can save you hours, even days of work.
Because you can find your desired material faster, you also end up in the “flow” much faster and you keep a better view of the story that forms in the timeline.
In addition to standard organizing such as Color Labels, Bins and Subclips, you can occasionally look at your project files.
You can also label files that are in the way or place them in a “waste” Bin before you permanently delete them. Then you keep an overview, especially if you work together with several people on one project.
Conclusion
With these shortcuts for Premiere Pro you will already save a lot of time during the editing.
Some shortcuts you use occasionally, others you will use constantly after today.

Hi, I'm Kim, a mom and a stop-motion enthusiast with a background in media creation and web development. I've got a huge passion for drawing and animation, and now I'm diving headfirst into the stop-motion world. With my blog, I'm sharing my learnings with you guys.
