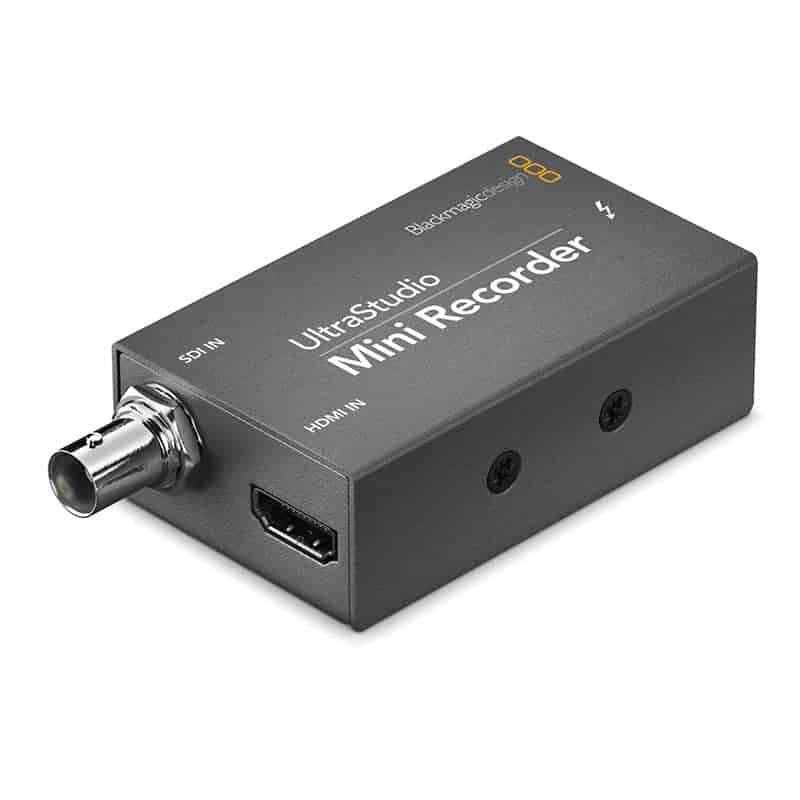
Blackmagic Ultrastudio mini recorder Review

- Ultra portable camera capture device
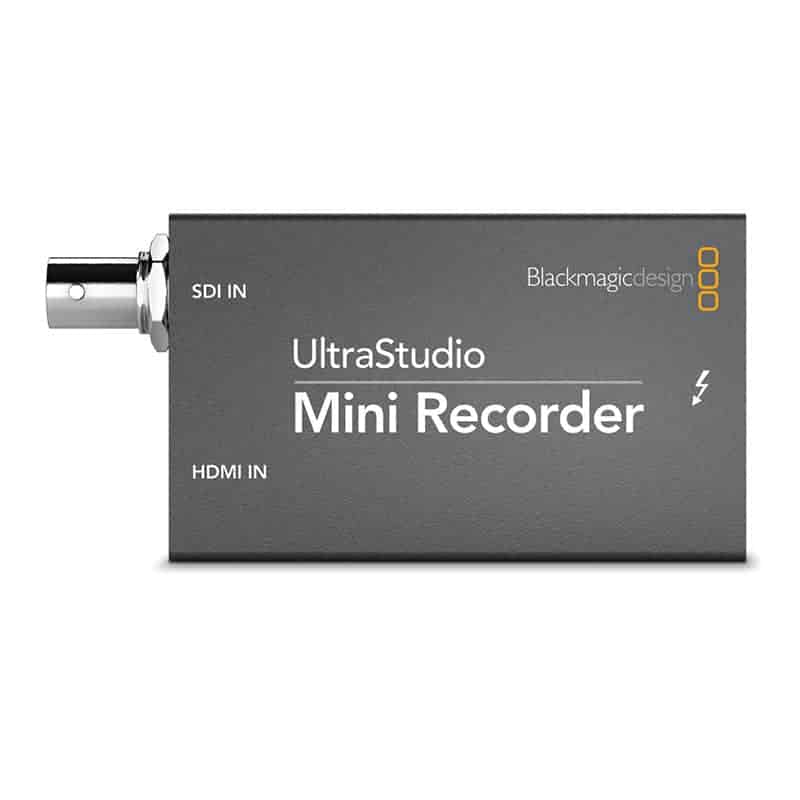
- SDI and HDMI inputs / Thunderbolt output
- Transfer video from cameras to computers
- Capture Live Feeds / Playback Feeds
- Supports signals up to 1080p30 / 1080i60
- 10-bit color precision / 4:2:2 sampling
- Real-time color space conversion
- Software based down conversion
Features of the Blackmagic Ultrastudion mini Recorder
The Blackmagic Design UltraStudio Mini Recorder allows you to capture an SDI or HDMI camera signal and transfer it to your computer for editing and other applications.
The Mini Recorder has SDI and HDMI inputs and a Thunderbolt output and supports resolutions up to 1080p30 / 1080i60, so it’s perfect for transferring video to your Mac computer.
The Mini Recorder also comes with Blackmagic Media Express software, which allows you to accept and encode incoming images in a way that best suits your workflow.
Note: A computer with Thunderbolt is required to input the signal to your computer. Thunderbolt and SDI/HDMI cables (not included) are also required.
Connect to your video camera of choice (like one of these reviewed here) via HDMI or SDI and feed your footage to a Thunderbolt computer to get the best possible image quality in your editing program 3 Gb/s SDI input SDI input connector for decks, routers and cameras so you can enjoy stunning Record high quality 10-bit videos in SD and HD.
- HDMI input HDMI input for stunning quality record direct from cameras and set-top boxes and game consoles
- Thunderbolt connection
- Superb speeds for SD and HD recording up to 1080iHD
Setting Up a Live Capture – Blackmagic Mini Recorder
- Click here to download and install the Blackmagic Desktop Video drivers. We recommend driver version 10.9.4. This requires administrator privileges and a restart of the computer.
- Connect the Mini Recorder to a Thunderbolt port using a Thunderbolt cable.
- For those on a MacBook Pro 2017 or newer, you’ll need to purchase a USB-C / Thunderbolt 3 to Thunderbolt 2 adapter.
- A Mini DisplayPort looks the same as a Thunderbolt port. Make sure the port you connect your Mini Recorder to has the Thunderbolt icon that looks like a lightning bolt next to it. When the device is properly connected, a white light should come on next to the Thunderbolt port on the Mini Recorder. Click the icon and then click System Preferences.
- Click the Blackmagic Desktop Video icon of the driver you installed.
- In the window that appears, you should see an image of your Blackmagic device. If you see a “No device connected” message, the device is not properly connected to the computer or cannot access the system software properly. Click the button in the middle of the window.
- Still can’t see the device? Please contact support. In the Video tab, select the video feed source (HDMI or SDI) you want to use to connect your video source to the Blackmagic device and uncheck the box next to 1080PsF.
- Users on Mac OS High Sierra (10.13) or later must allow Blackmagic access as system software. Go to the top left button and open System Preferences.
- Select Security & Privacy.
- Click the lock at the bottom left (requires an administrator password). A note with developer “Blackmagic Design Inc” system software has been blocked from loading. Select Allow and click the lock at the bottom left.
- Restart the Blackmagic Desktop Video application to access the capture device and Blackmagic software.
- If you have installed Mac OS Sierra (10.12), El Capitan (10.11) or earlier, this step does not apply to you. Click Conversions and set the Input conversion drop-down list to None.
- Click Save.
- Connect your video source (camera) to the Blackmagic device via an HDMI or SDI cable.
- Launch Sportscode and click Capture > Open Capture.
- Users on macOS Mojave (10.14) or later must allow Camera and Microphone access. Select OK for both prompts.
- This is only needed once the first time you perform a recording on macOS Mojave. Click on the me icon to set up your recording.
- Does your capture window look different? Go to Sport Code, Preferences, Capture, then toggle from QuickTime capture to AVFoundation capture. Select your Blackmagic device as the video and audio sources and make sure to use the HD 720 option as your capture preset. Make sure the field Frame /sec is set to match your video feed format. You want to match the Video Size option to the source feed format. Depending on your country or type of device, the frame/sec could be 29.97, 59.94 (in the US) or 25, 50 or 60. Contact Support if you are not sure which one to use.
- Click the Capture icon to choose a name for your movie package and start recording.
Possible Problems: Blackmagic MiniRecorder is not seen by Wirecast
I’m having similar issues where I add a recording which is a Blackmagic UltraStudio Mini Recorder SDI and Thunderbolt connected to a MacBook that sees the capture map but shows no image in the liveview or preview/live window.
Getting started with your own stop motion storyboards
Subscribe to our newsletter and get your free download with three storyboards. Get started with bringing your stories alive!
We'll only use your email address for our newsletter and respect your privacy
It seems that Wirecast does not recognize the recording as a video source because the properties of the recording do not appear with the video size, pixel size, video size or frame rate. The weird thing is that the Blackmagic capture card light is on, the “System Report” in “About This Mac” contains/sees the Thunderbolt capture card, and I can record video from the Blackmagic “Media Express” app.
The possible solution to this issue is to update to Wirecast 8.1.1 which has just been released.
Make sure the Blackmagic Driver 10.9.7 is installed. Generally if you can capture in Media Express, Wirecast would see the video source.
The video source can also only be in one program at a time. I recommend restarting the computer and, make sure no other programs are running in the background and with the camera already turned on, then restart Wirecast.

Hi, I'm Kim, a mom and a stop-motion enthusiast with a background in media creation and web development. I've got a huge passion for drawing and animation, and now I'm diving headfirst into the stop-motion world. With my blog, I'm sharing my learnings with you guys.
